
BESTILLINGER 200+ USD
8 % RABATT
BESTILLINGER 200+ USD
CODE: BUTIKK1
BESTILLINGER $300+
10 % RABATT
BESTILLINGER $300+
CODE: BUTIKK2
BESTILLINGER $400+
12 % RABATT
BESTILLINGER $400+
CODE: BUTIKK3
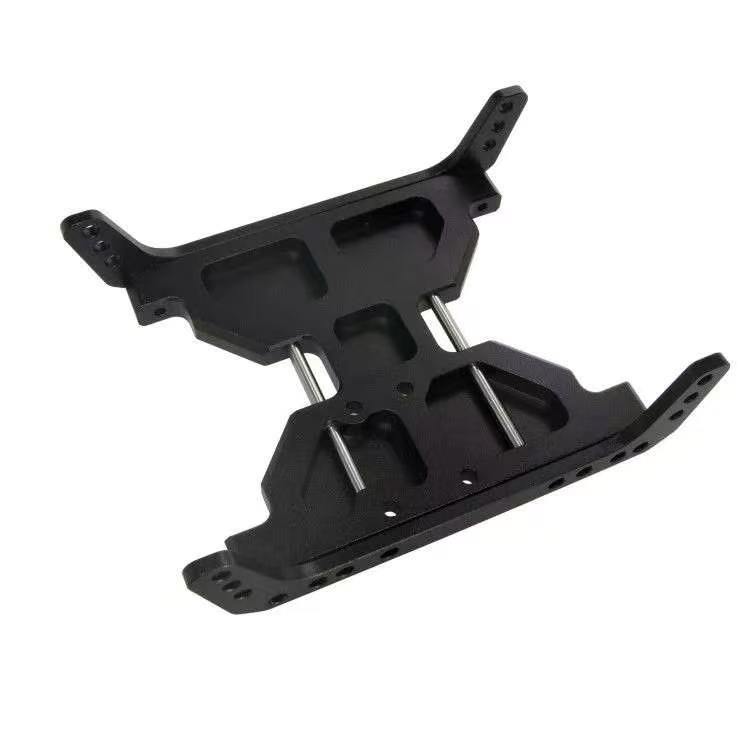
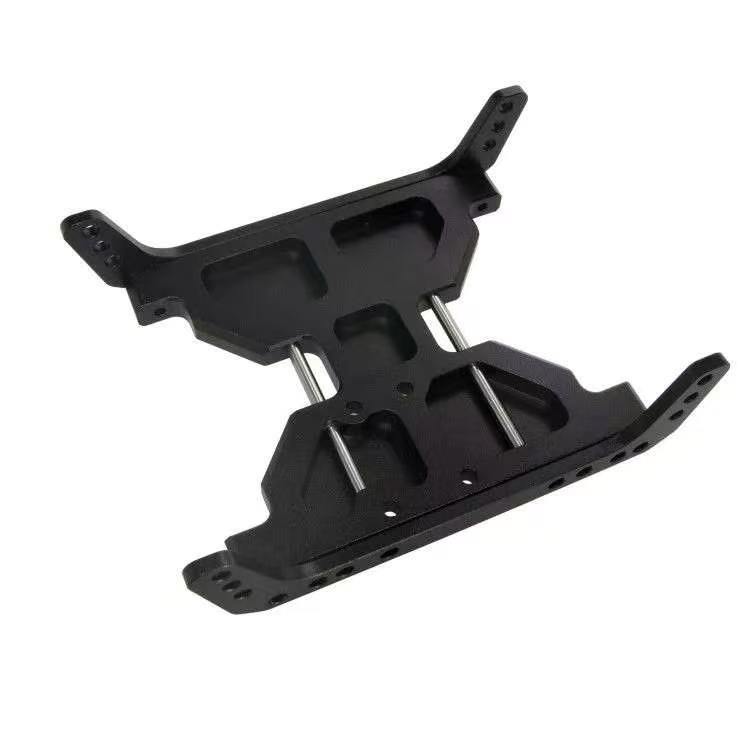
Metal Transmission Mount Skid Plate for 1/10 RC Crawler Axial Capra 1.9 UTB (Fits SCX10 Gearbox) DB02
sku:
€24,95 EUR
€33,95 EUR
Rabatt €9,00 EUR
Mängden
Beskrivelse
Key Selling Points
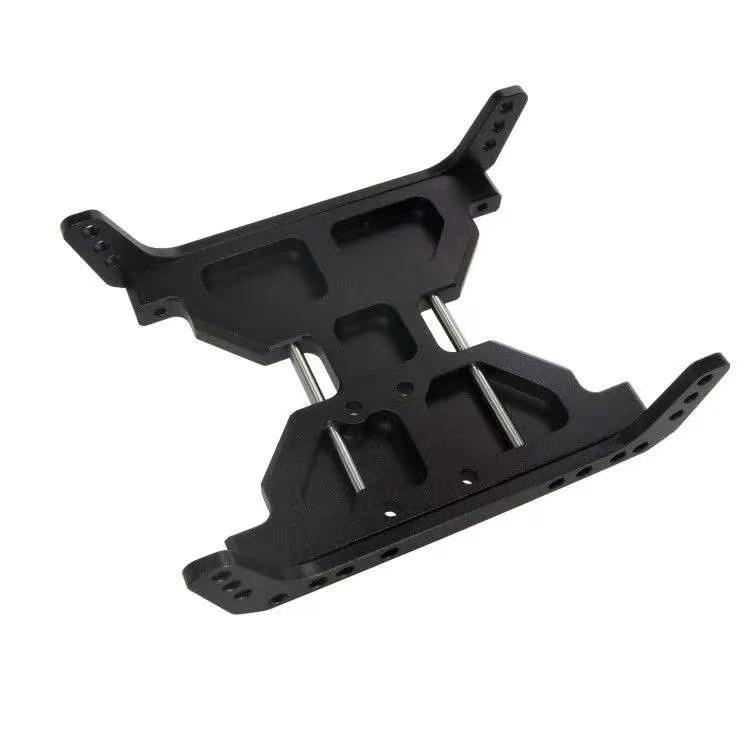
- High-Strength Aluminum Construction: Made of premium aluminum alloy with anodized finish for excellent wear and corrosion resistance. Significantly stronger than the original part, resistant to deformation and breakage during heavy-duty crawling.
- Precision CNC Machining: One-piece CNC machined for high-precision holes and perfect fit. No modification required, direct replacement for the stock part.
- Designed for Tube Frame Crawlers: Custom-made for the Axial Capra 1.9 UTB tube frame crawler, compatible with SCX10 gearboxes. Optimizes the gearbox mounting position while matching the chassis perfectly.
- Lightweight & Protective Design: Hollow lightweight construction maintains structural rigidity while reducing overall vehicle weight, without affecting the crawling center of gravity. Also enhances undercarriage protection.
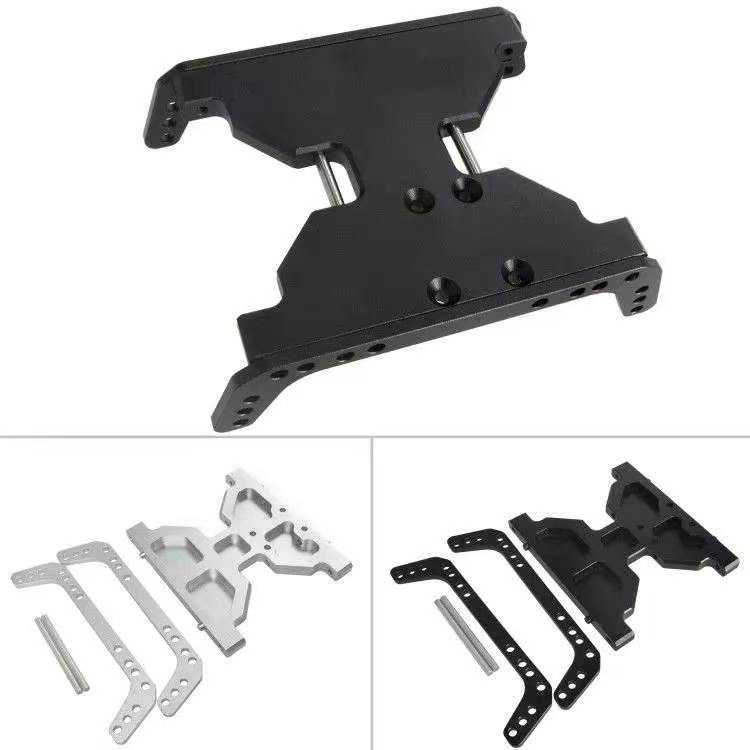
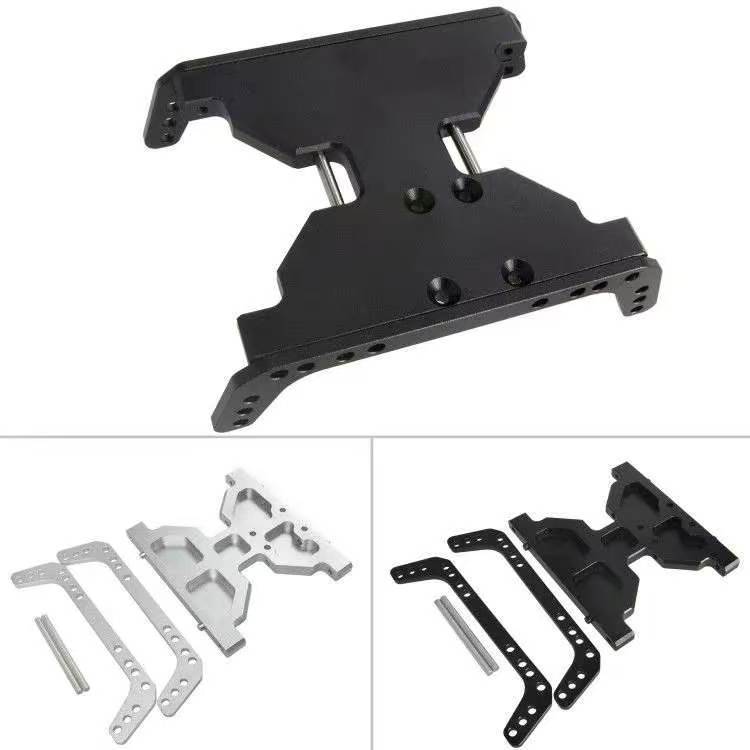
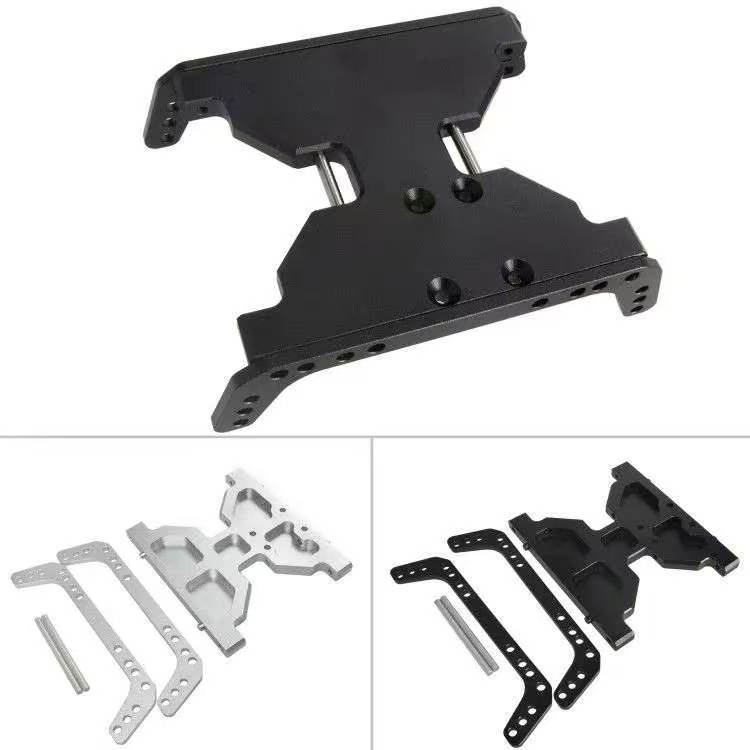
- Two Anodized Colors: Available in black and silver anodized finishes to match different tube frame styles, balancing functionality and appearance.
Specifications
- Item Details
- Compatible Models 1/10 RC Crawler Axial Capra 1.9 UTB (with SCX10 gearbox installed)
- Material Aluminum Alloy
- Surface Finish Anodized
- Available Colors Black / Silver
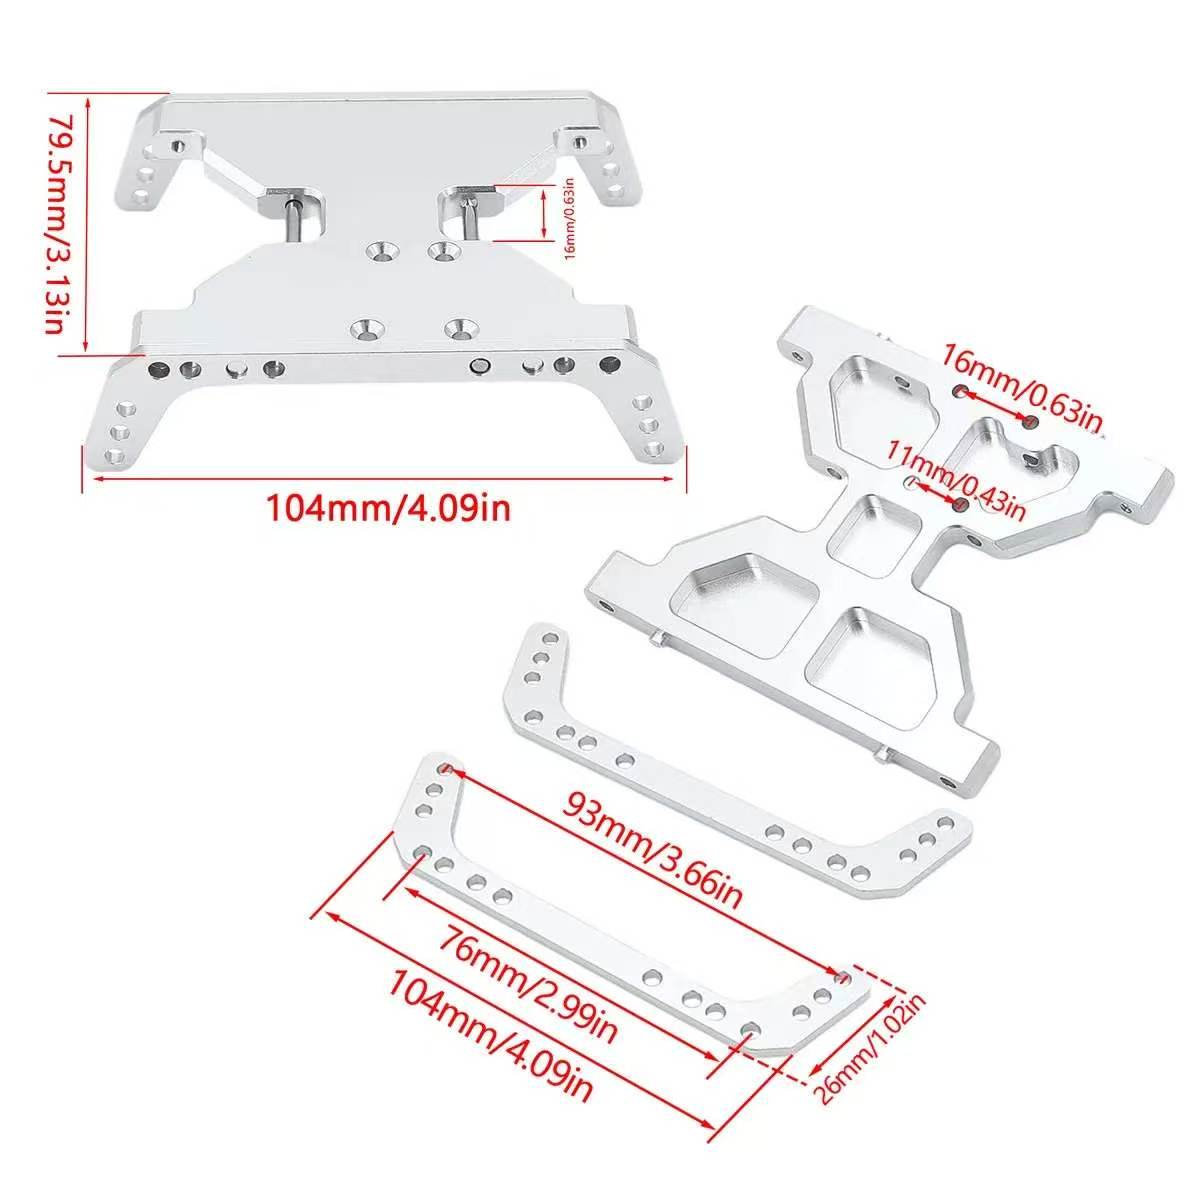
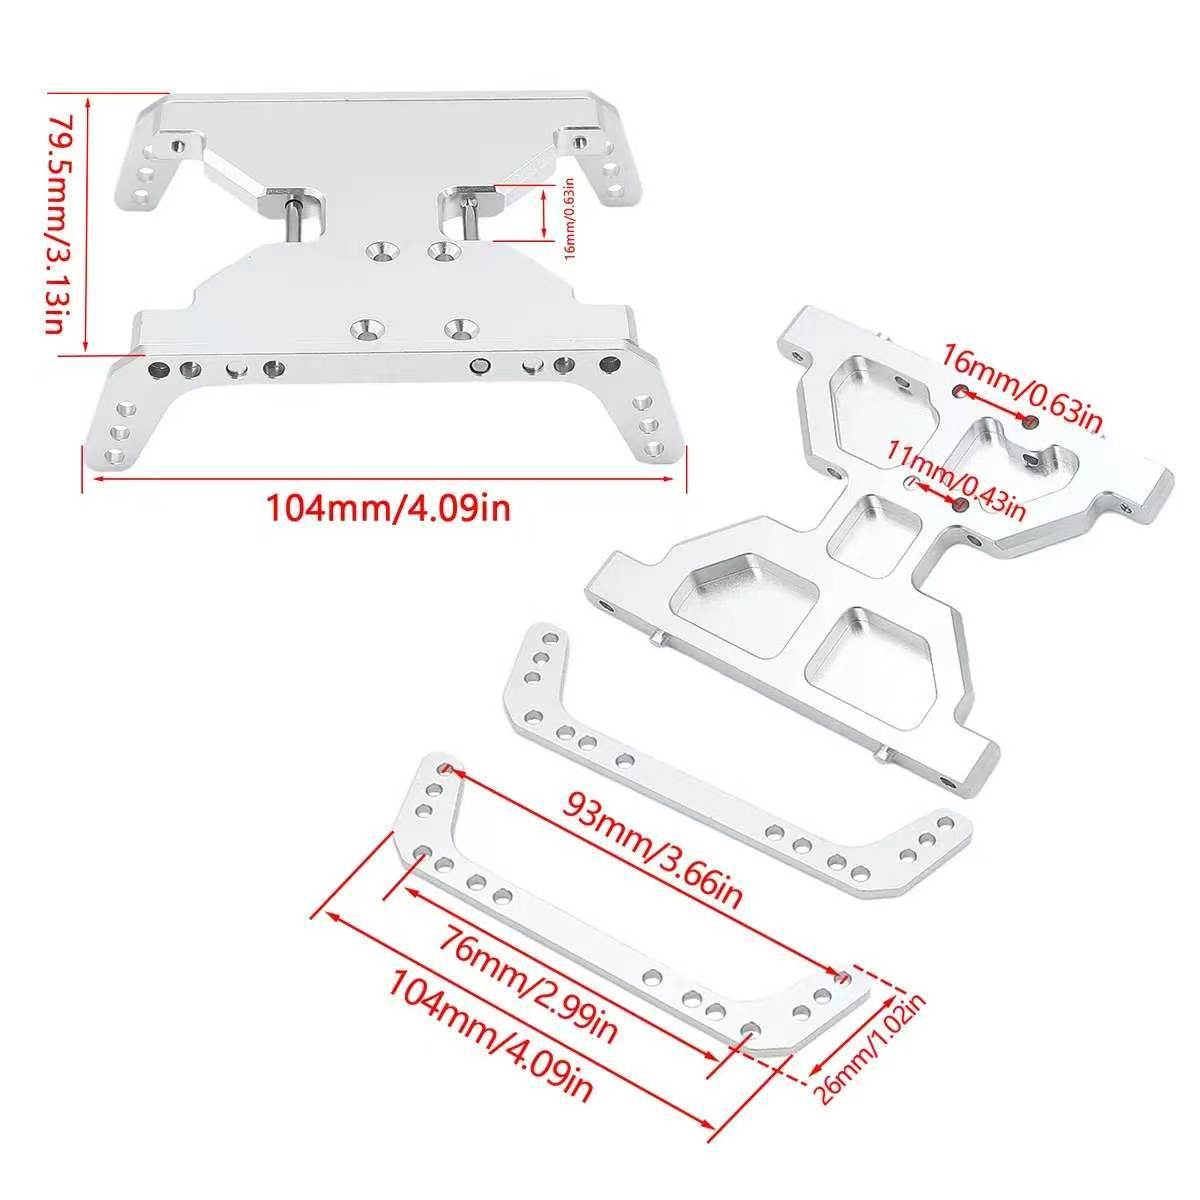
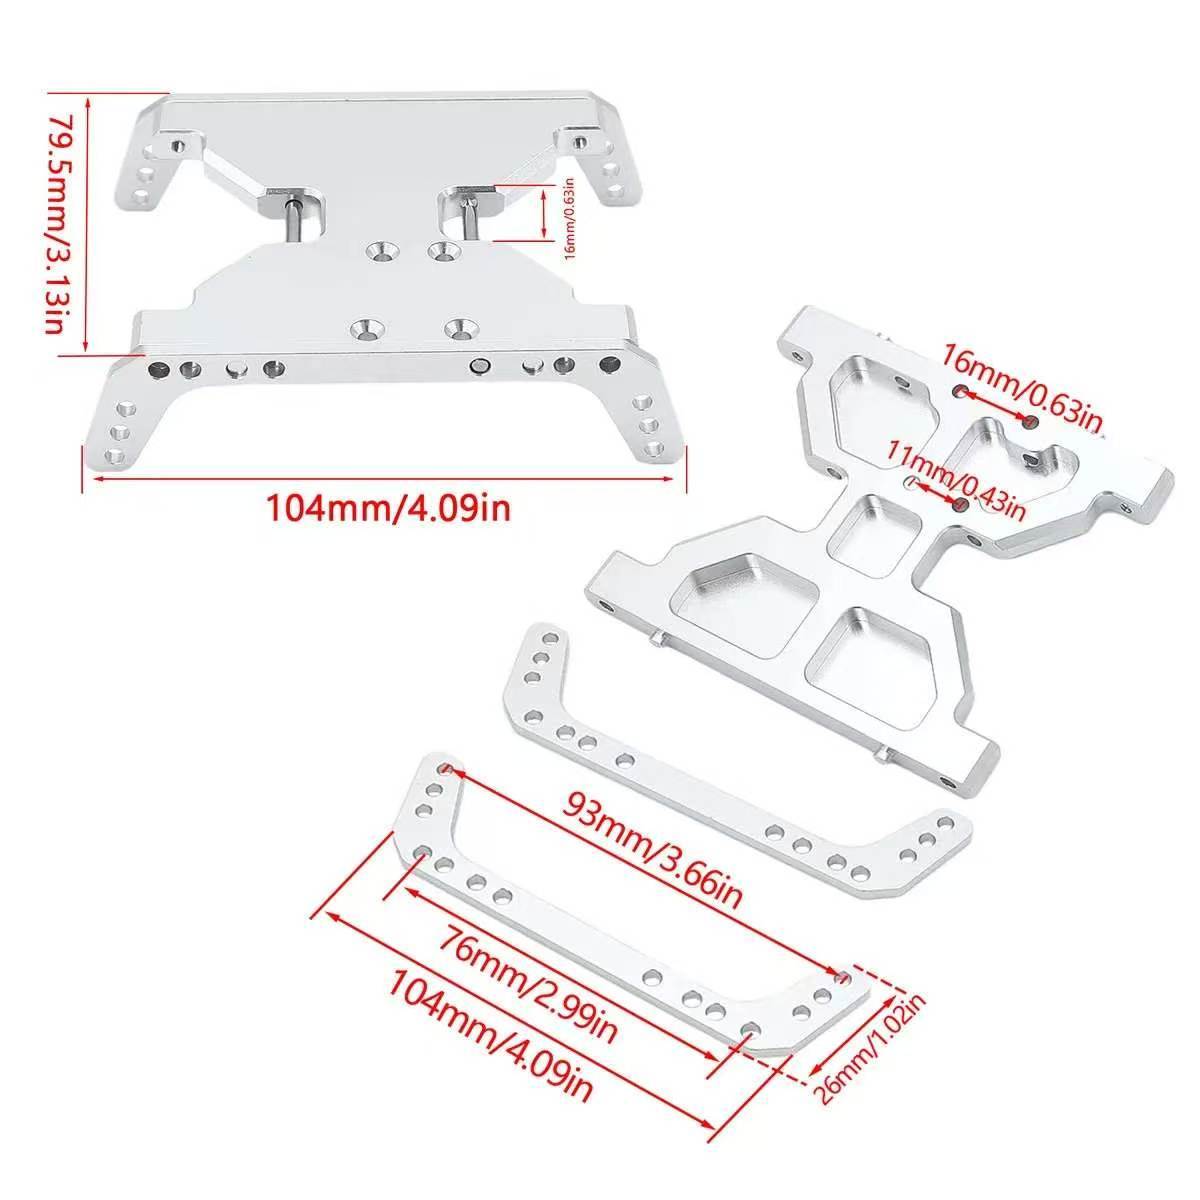
- Dimensions Main Plate: ~104×79.5mm, Side Rails: ~104/93mm (refer to dimension drawing)
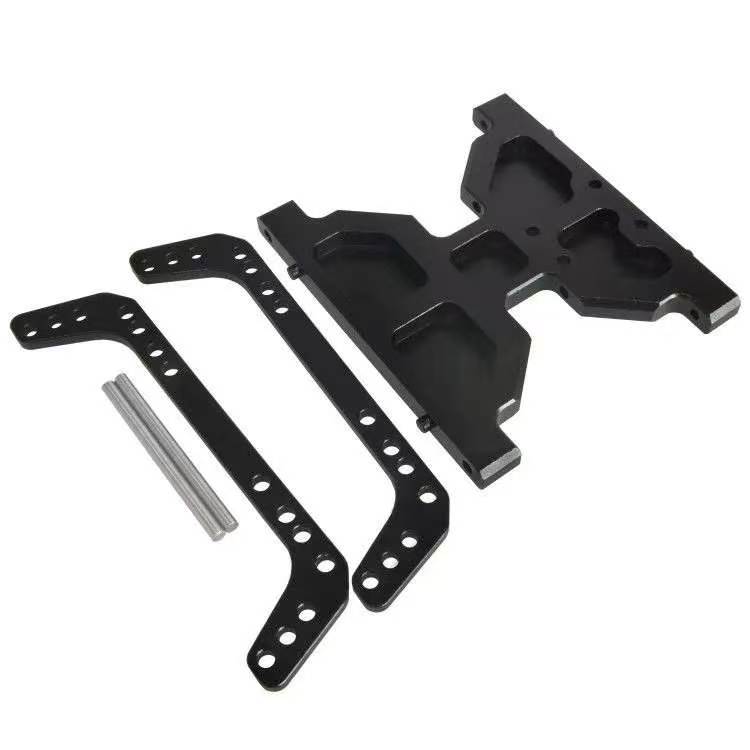
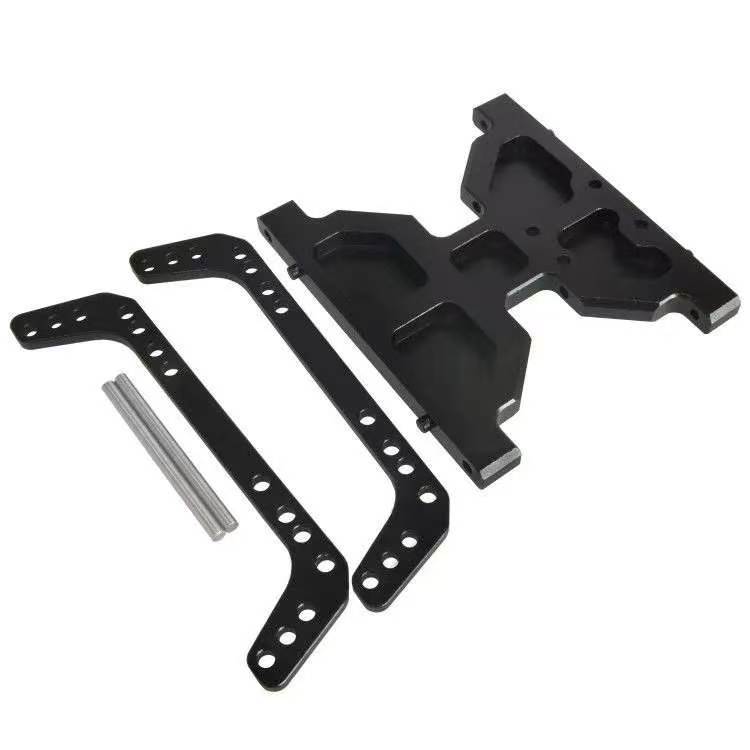
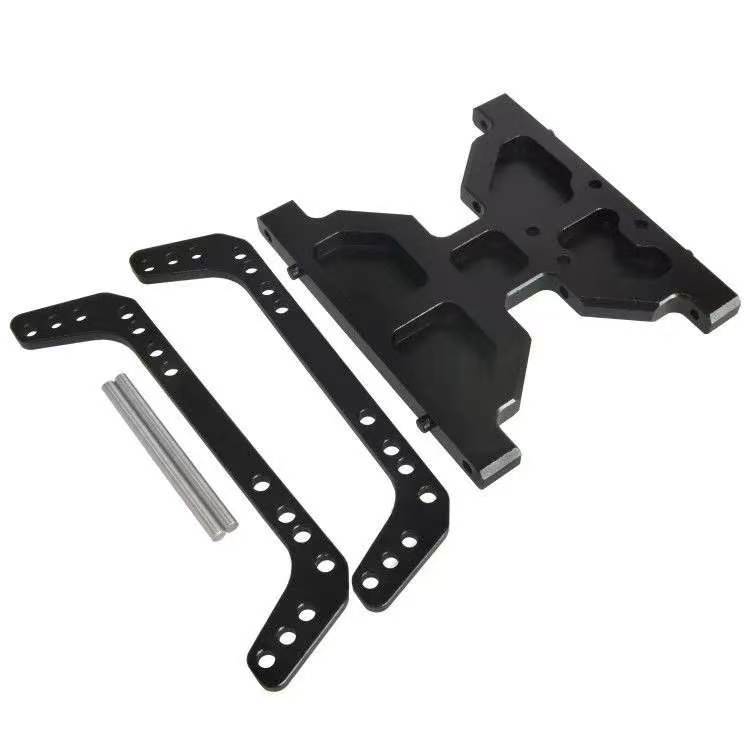
- Package Includes Main Skid Plate + Side Rails + Fixed Pins
- Note Only fits Capra 1.9 UTB with SCX10 gearbox; not compatible with the original gearbox with different hole patterns
Installation & Usage Instructions
- Confirm your Capra model has an SCX10 gearbox installed and verify hole dimensions before installation to avoid incorrect fitting.
- Remove the original skid plate and clean the chassis mounting area to remove burrs and dirt.
- Assemble the side rails to the main plate using the fixed pins, align with the chassis rail holes, and loosely tighten the screws initially.
- Adjust the gearbox position to align the drive shaft with the gearbox interface, then fully tighten all screws.
- After installation, manually rotate the drive shaft to check for jamming before running the vehicle.
Important Notes
- This product is only compatible with Axial Capra 1.9 UTB models with an SCX10 gearbox installed. It is not compatible with the original gearbox. Please confirm your model and gearbox type before ordering.
- Do not over-tighten the screws during installation to avoid stripping the threads on the plate or chassis.
- Regularly check the tightness of screws and fixed pins after heavy crawling to prevent parts from loosening or falling off.
Land tilgjengelig for levering
Østerrike Belgia Bulgaria Canada Kroatia Tsjekkia Danmark Estland Finland Frankrike Tyskland Ungarn Irland Italia Latvia Litauen Luxembourg Nederland Norge Polen Portugal Romania Slovakia Slovenia Spania Sverige Storbritannia USA
Vi godtar kun bestillinger fra landene som er spesifisert ovenfor. For eventuelle feilaktige bestillinger som legges inn fra regioner som ikke er kvalifisert, vil hele betalingen bli returnert til din opprinnelige betalingskanal innen én virkedag.
Østerrike Belgia Bulgaria Canada Kroatia Tsjekkia Danmark Estland Finland Frankrike Tyskland Ungarn Irland Italia Latvia Litauen Luxembourg Nederland Norge Polen Portugal Romania Slovakia Slovenia Spania Sverige Storbritannia USA
Vi godtar kun bestillinger fra landene som er spesifisert ovenfor. For eventuelle feilaktige bestillinger som legges inn fra regioner som ikke er kvalifisert, vil hele betalingen bli returnert til din opprinnelige betalingskanal innen én virkedag.
- Alle produkter inkluderer gratis frakt og avgifter, ingen skjulte gebyrer.
- Sikker betaling via PayPal, med 100 % banksikkerhet garantert.
- Hver bestilling leveres med logistikksporingsinformasjon.
- Vi bruker krypterte SSL-sertifikater for å sikre 100 % sikre betalinger.
- Alle gelblastere som selges av MYZOOI er i samsvar med EUs EN 71-1 sikkerhetsstandard for leker. Alle relevante produkter har fullført tollbehandling, noe som sikrer null risiko ved tollklarering og problemfri levering av varer.
30-dagers retur-/byttepolicy
Retur- og bytteprosedyre
Fullstendig retur-/byttepolicy
Ingen retur-/byttesaker
Forholdsregler for retur/bytte
Estimated Shipping Widget will be displayed here!
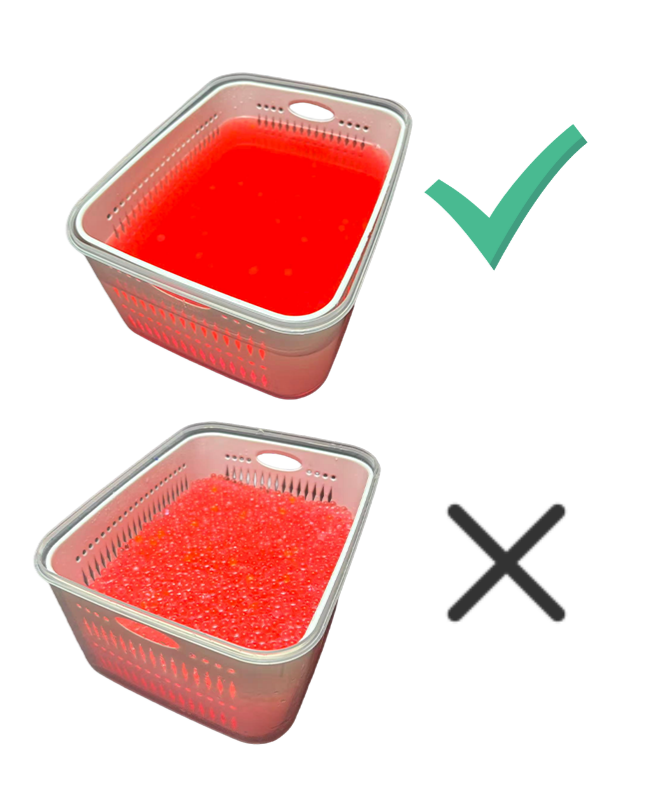
How to Properly Soak Water Gel Beads
- Prepare a container and add plenty of clean water to fully submerge the water gel beads.
- Soak them for 4–6 hours until the beads expand, soften and become fully plump.
- Keep the beads completely under water during the whole process; otherwise, they will not be fully soaked and may easily cause jamming.
- If the soaking time is insufficient or there is not enough water, some water gel beads will not absorb enough water, which may cause poor firing or jamming.
Vanlige spørsmål
Sjekk ofte stilte spørsmål her. Hvis du fortsatt trenger hjelp, kan du kontakte oss på: service@myzooi.com.