
ORDINI DA $200+
8% di sconto
ORDINI DA $200+
CODE: NEGOZIO1
ORDINI DA $300+
10% di sconto
ORDINI DA $300+
CODE: NEGOZIO2
ORDINI DA $400+
12% di sconto
ORDINI DA $400+
CODE: NEGOZIO3
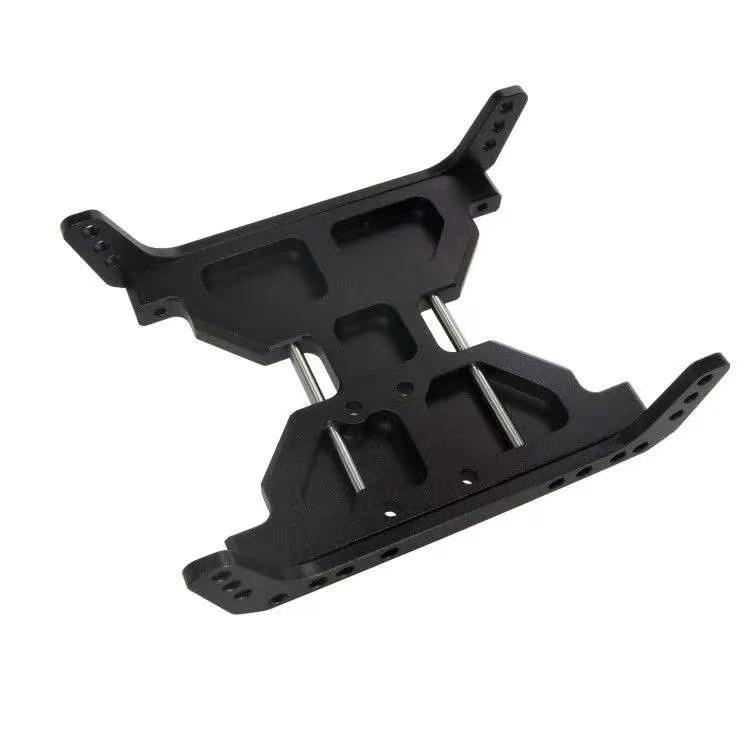
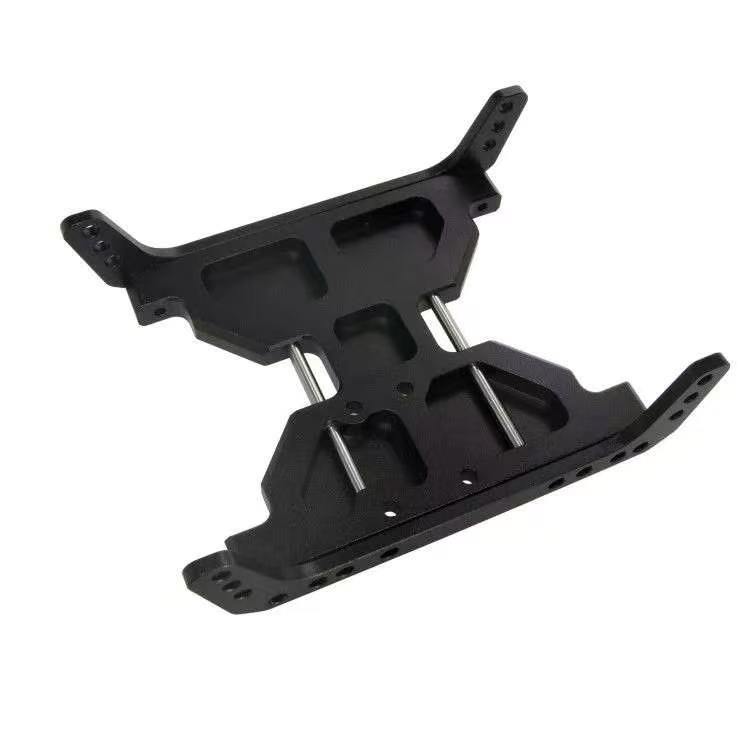
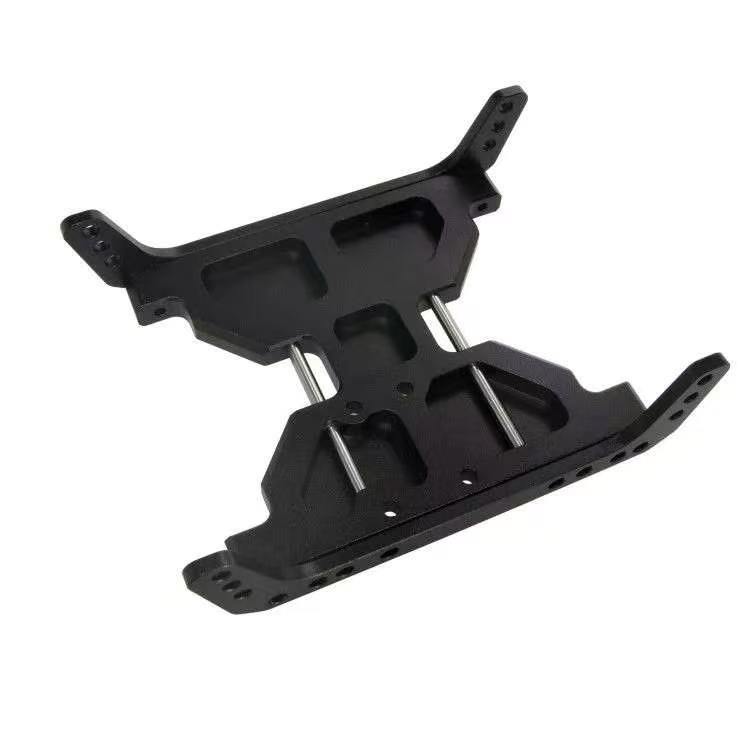
Metal Transmission Mount Skid Plate for 1/10 RC Crawler Axial Capra 1.9 UTB (Fits SCX10 Gearbox) DB02
sku:
$29.00 USD
$39.00 USD
Risparmia $10.00 USD
Spedizione gratuita
Quantità
Descrizione
Key Selling Points
- High-Strength Aluminum Construction: Made of premium aluminum alloy with anodized finish for excellent wear and corrosion resistance. Significantly stronger than the original part, resistant to deformation and breakage during heavy-duty crawling.
- Precision CNC Machining: One-piece CNC machined for high-precision holes and perfect fit. No modification required, direct replacement for the stock part.
- Designed for Tube Frame Crawlers: Custom-made for the Axial Capra 1.9 UTB tube frame crawler, compatible with SCX10 gearboxes. Optimizes the gearbox mounting position while matching the chassis perfectly.
- Lightweight & Protective Design: Hollow lightweight construction maintains structural rigidity while reducing overall vehicle weight, without affecting the crawling center of gravity. Also enhances undercarriage protection.
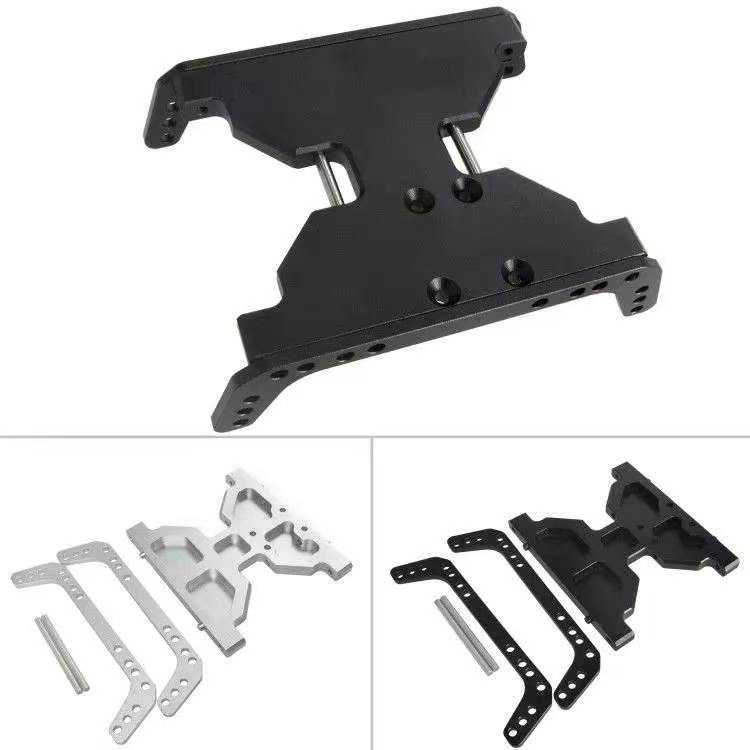
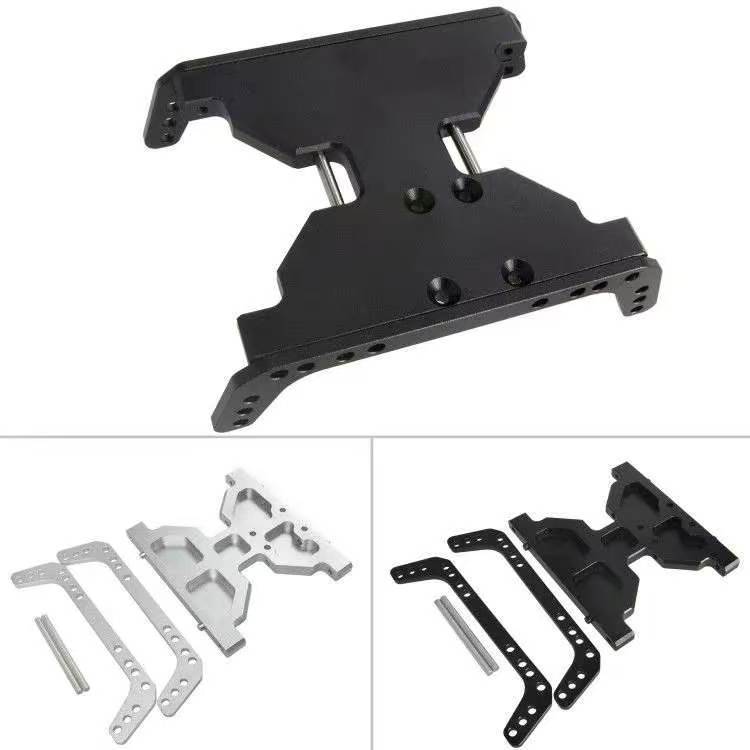
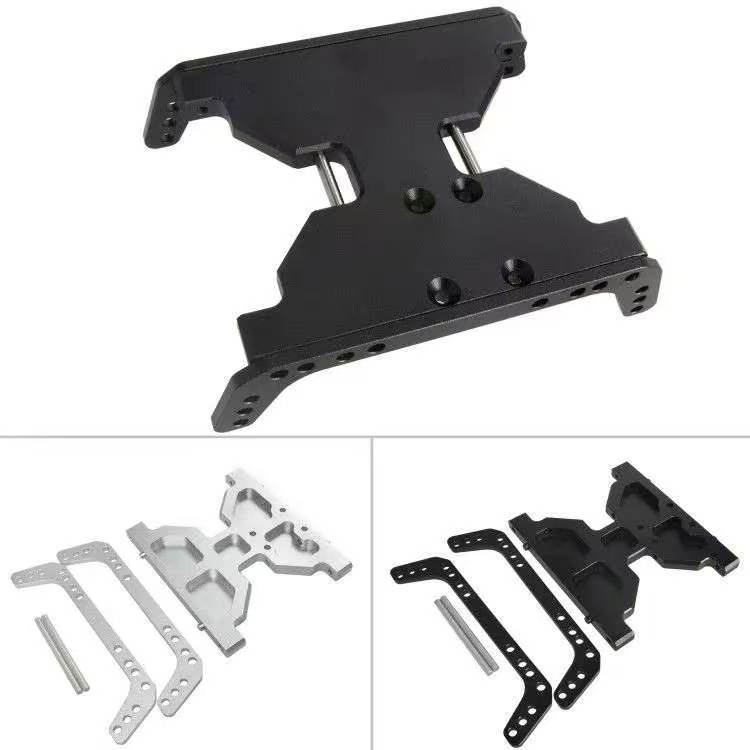
- Two Anodized Colors: Available in black and silver anodized finishes to match different tube frame styles, balancing functionality and appearance.
Specifications
- Item Details
- Compatible Models 1/10 RC Crawler Axial Capra 1.9 UTB (with SCX10 gearbox installed)
- Material Aluminum Alloy
- Surface Finish Anodized
- Available Colors Black / Silver
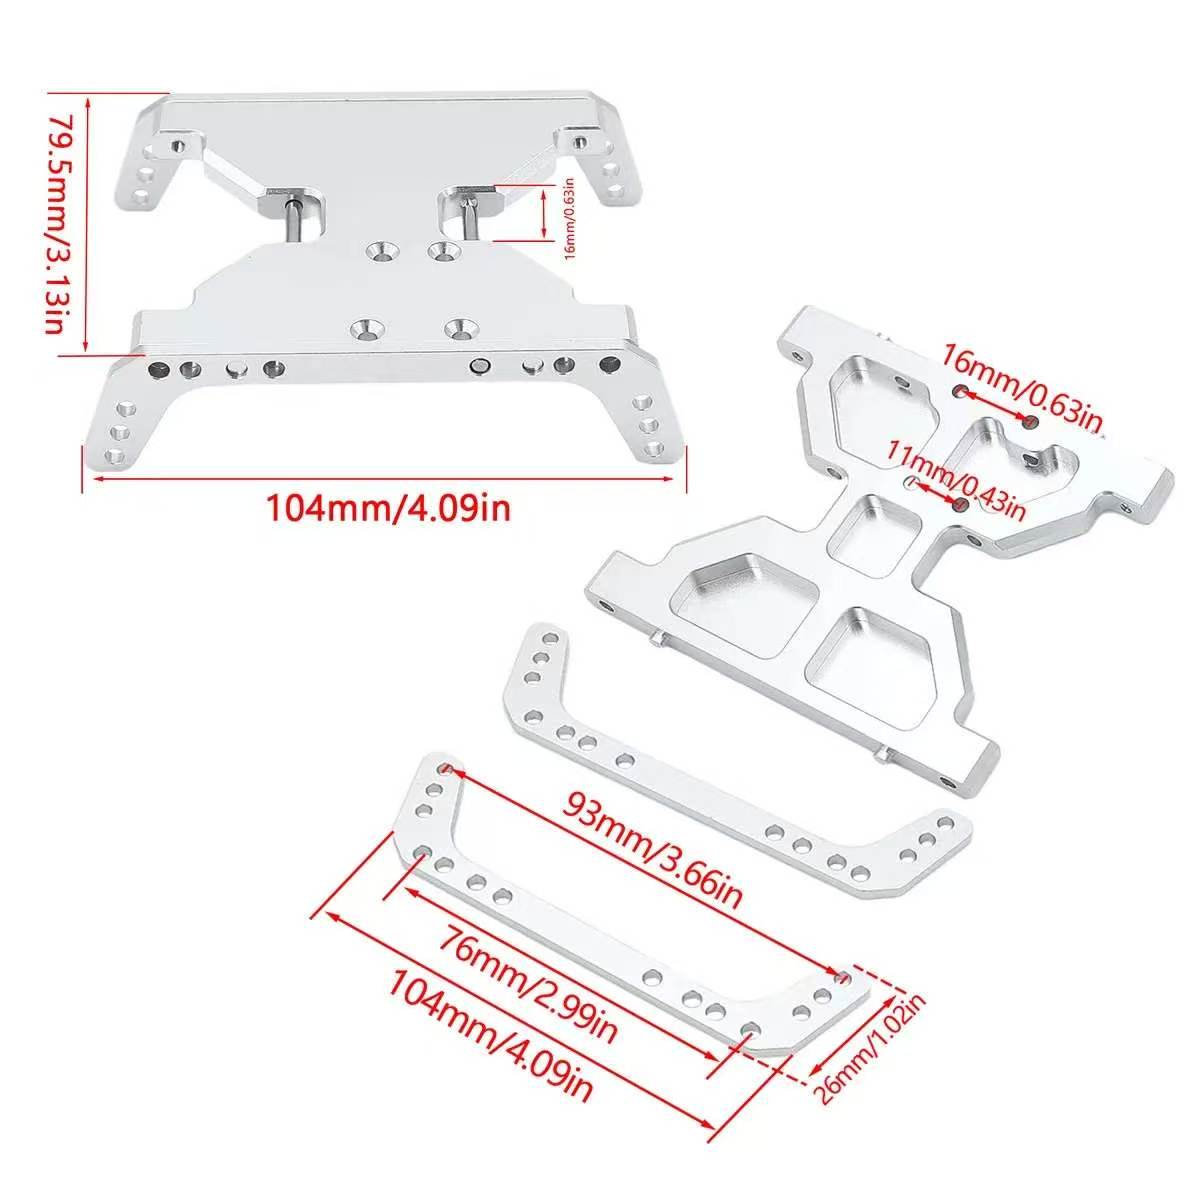
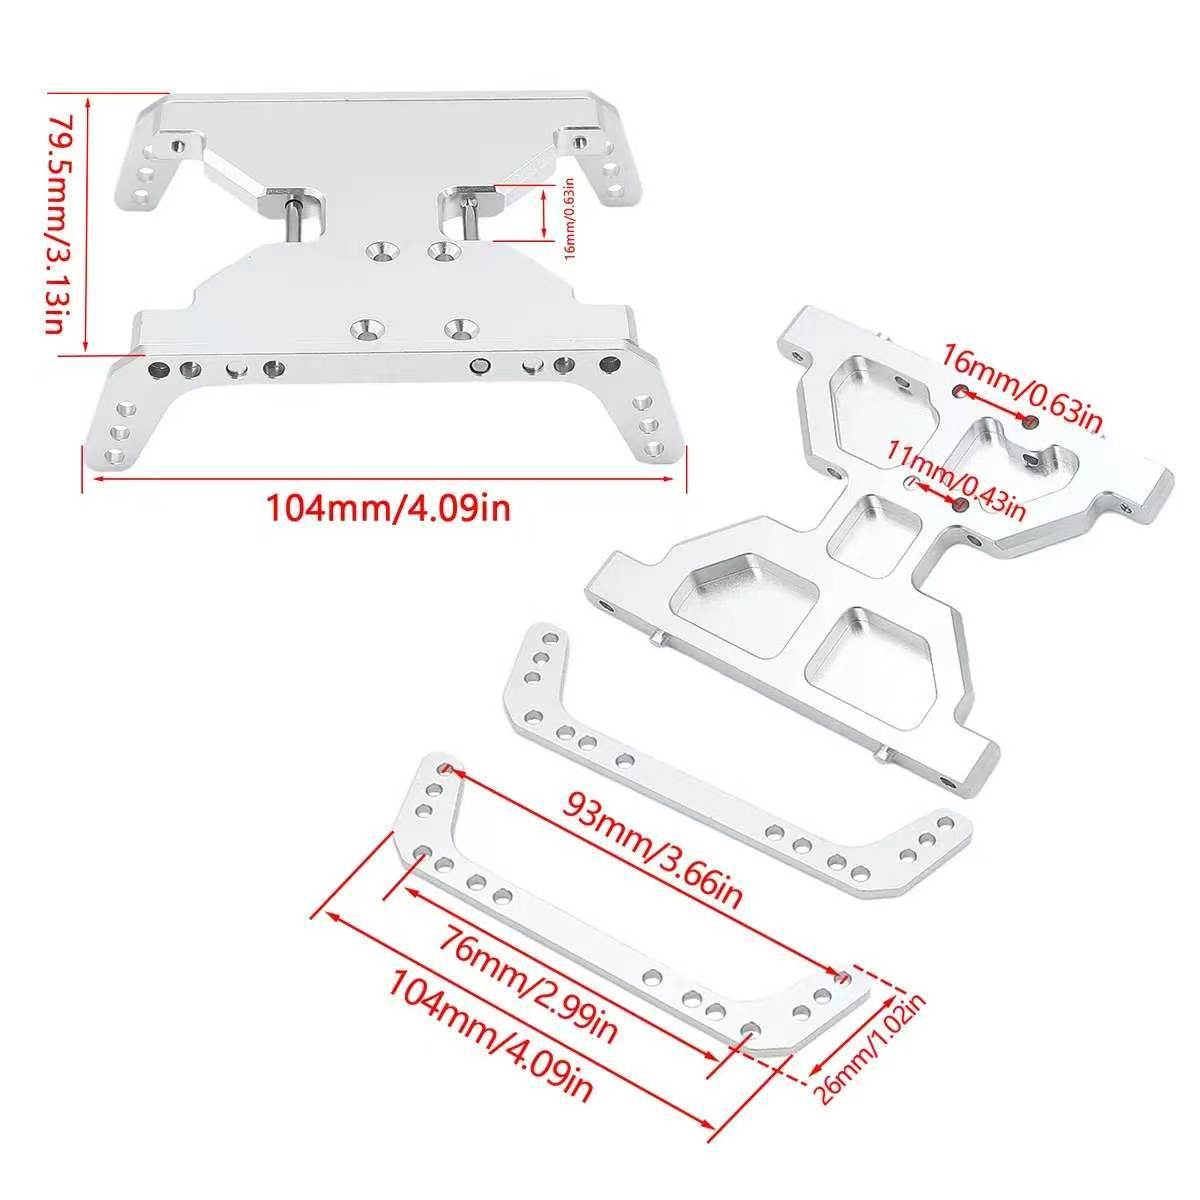
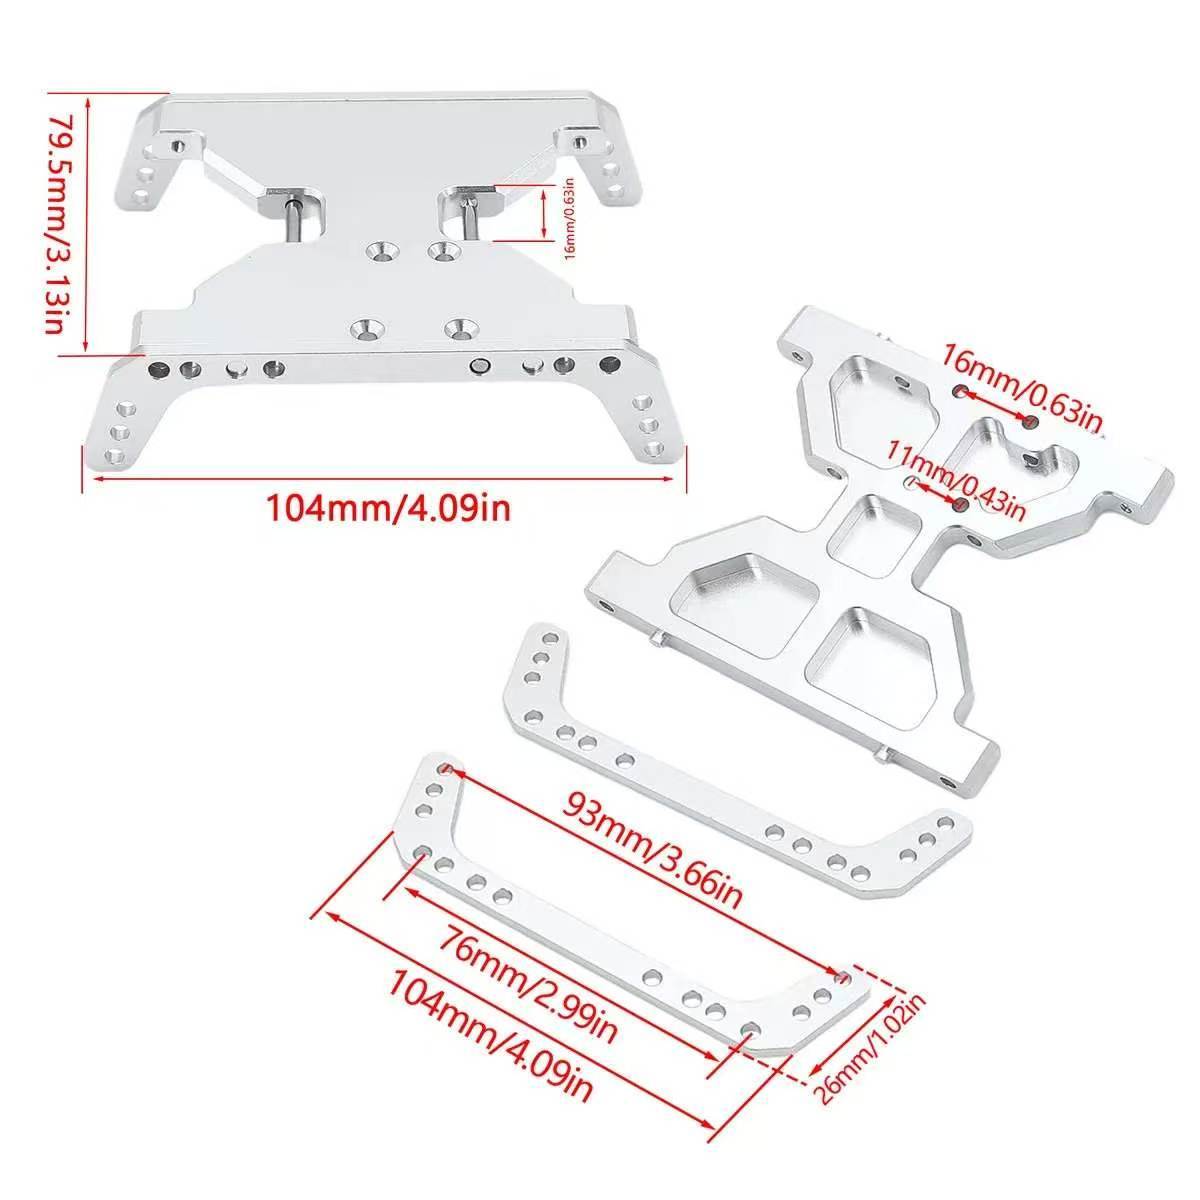
- Dimensions Main Plate: ~104×79.5mm, Side Rails: ~104/93mm (refer to dimension drawing)
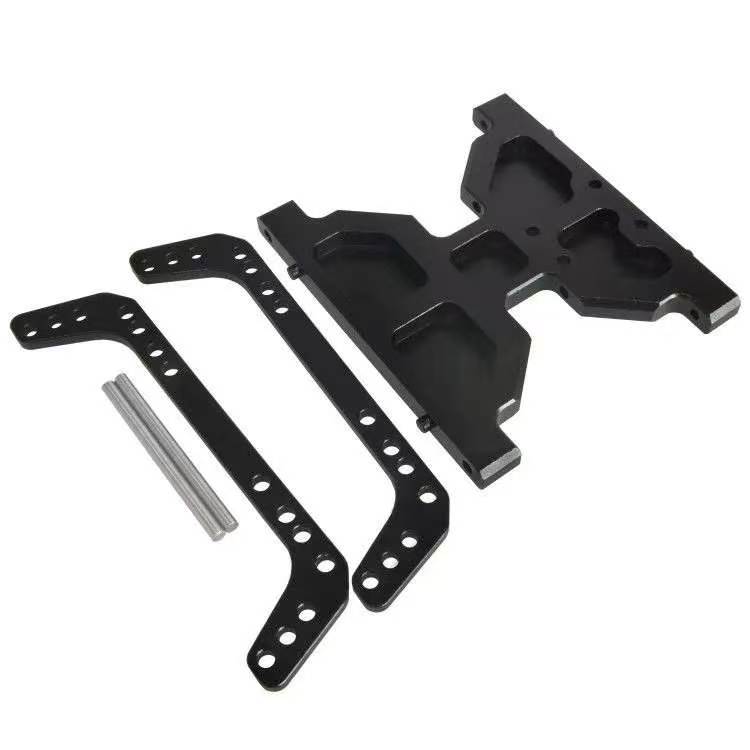
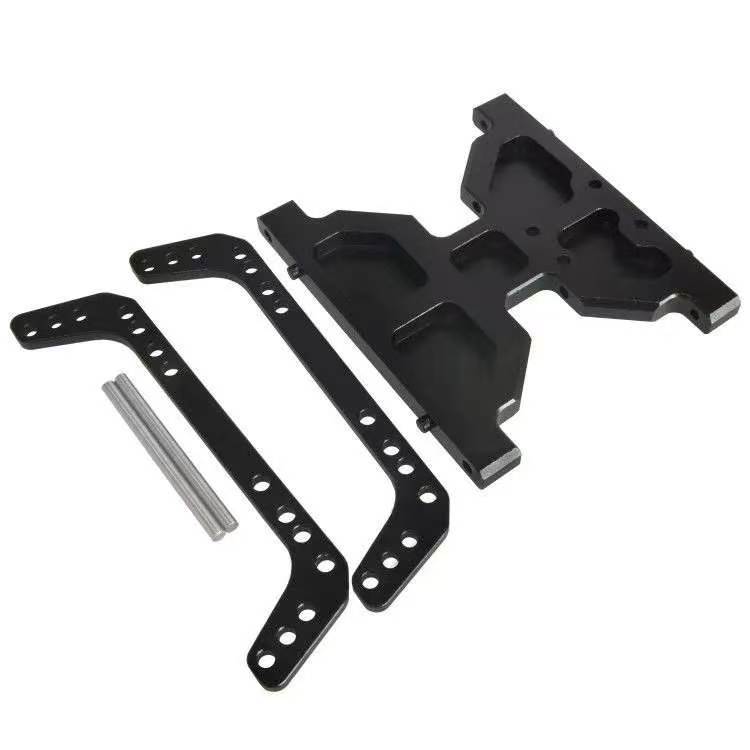
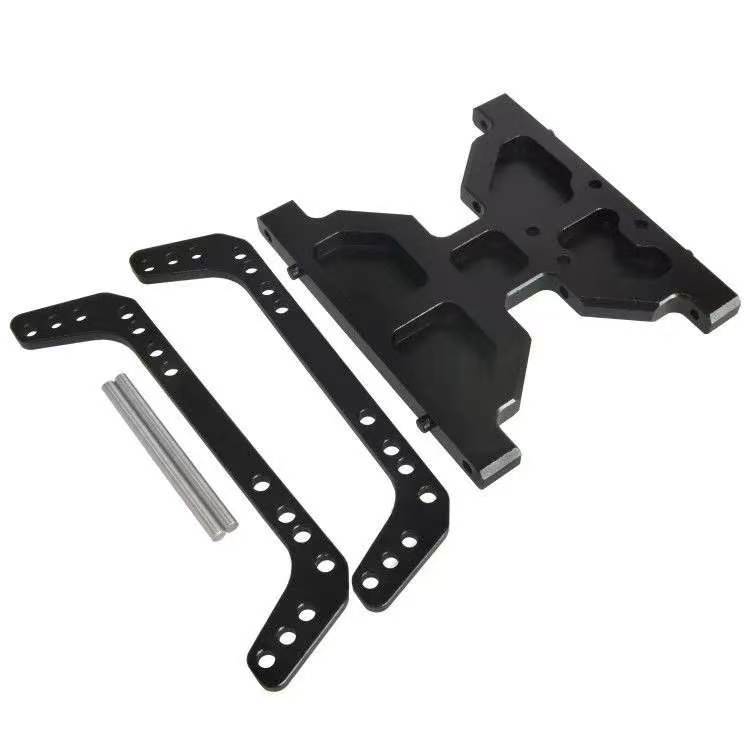
- Package Includes Main Skid Plate + Side Rails + Fixed Pins
- Note Only fits Capra 1.9 UTB with SCX10 gearbox; not compatible with the original gearbox with different hole patterns
Installation & Usage Instructions
- Confirm your Capra model has an SCX10 gearbox installed and verify hole dimensions before installation to avoid incorrect fitting.
- Remove the original skid plate and clean the chassis mounting area to remove burrs and dirt.
- Assemble the side rails to the main plate using the fixed pins, align with the chassis rail holes, and loosely tighten the screws initially.
- Adjust the gearbox position to align the drive shaft with the gearbox interface, then fully tighten all screws.
- After installation, manually rotate the drive shaft to check for jamming before running the vehicle.
Important Notes
- This product is only compatible with Axial Capra 1.9 UTB models with an SCX10 gearbox installed. It is not compatible with the original gearbox. Please confirm your model and gearbox type before ordering.
- Do not over-tighten the screws during installation to avoid stripping the threads on the plate or chassis.
- Regularly check the tightness of screws and fixed pins after heavy crawling to prevent parts from loosening or falling off.
Paesi disponibili per la consegna
Austria Belgio Bulgaria Canada Croazia Repubblica Ceca Danimarca Estonia Finlandia Francia Germania Ungheria Irlanda Italia Lettonia Lituania Lussemburgo Paesi Bassi Polonia Portogallo Romania Repubblica Slovacca Slovenia Spagna Svezia Regno Unito Stati Uniti
Accettiamo ordini solo dai Paesi sopra specificati. Per eventuali ordini errati effettuati da regioni non idonee, l'intero pagamento verrà restituito al tuo canale di pagamento originale entro un giorno lavorativo.
Austria Belgio Bulgaria Canada Croazia Repubblica Ceca Danimarca Estonia Finlandia Francia Germania Ungheria Irlanda Italia Lettonia Lituania Lussemburgo Paesi Bassi Polonia Portogallo Romania Repubblica Slovacca Slovenia Spagna Svezia Regno Unito Stati Uniti
Accettiamo ordini solo dai Paesi sopra specificati. Per eventuali ordini errati effettuati da regioni non idonee, l'intero pagamento verrà restituito al tuo canale di pagamento originale entro un giorno lavorativo.
- Tutti i prodotti includono spedizione e tasse gratuite, senza costi nascosti.
- Pagamento sicuro tramite PayPal, con garanzia di sicurezza dei fondi al 100%.
- Ogni ordine include informazioni di tracciamento logistico.
- Utilizziamo certificati SSL crittografati per garantire pagamenti sicuri al 100%.
-
Politica di reso/cambio entro 30 giorni
Procedura di reso e cambio
Politica di reso/cambio a copertura totaleNessun caso di reso/cambio
Precauzioni per resi/cambi
Estimated Shipping Widget will be displayed here!
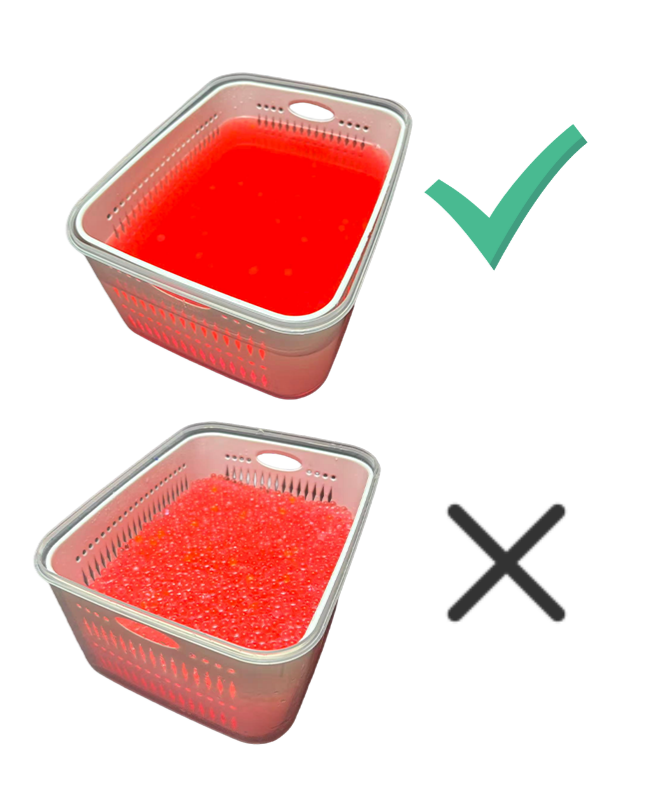
Come immergere correttamente le perle di gel d'acqua
- Prepara un contenitore e aggiungi abbondante acqua pulita per immergere completamente le perle di gel d'acqua.
- Lasciale in ammollo per 4-6 ore finché le perle non si espandono, si ammorbidiscono e diventano completamente gonfie.
- Tieni le perle completamente sott'acqua durante l'intero processo; In caso contrario, non saranno completamente immerse e potrebbero facilmente incepparsi.
- Se il tempo di ammollo non è sufficiente o non c'è abbastanza acqua, alcune perle di gel d'acqua non assorbiranno abbastanza acqua, il che potrebbe causare una cottura scadente o inceppamenti.
Domande frequenti
Consulta le domande frequenti qui. Se hai ancora bisogno di assistenza, contattaci all'indirizzo: service@myzooi.com.