
ORDINI DA $200+
8% di sconto
ORDINI DA $200+
CODE: NEGOZIO1
ORDINI DA $300+
10% di sconto
ORDINI DA $300+
CODE: NEGOZIO2
ORDINI DA $400+
12% di sconto
ORDINI DA $400+
CODE: NEGOZIO3
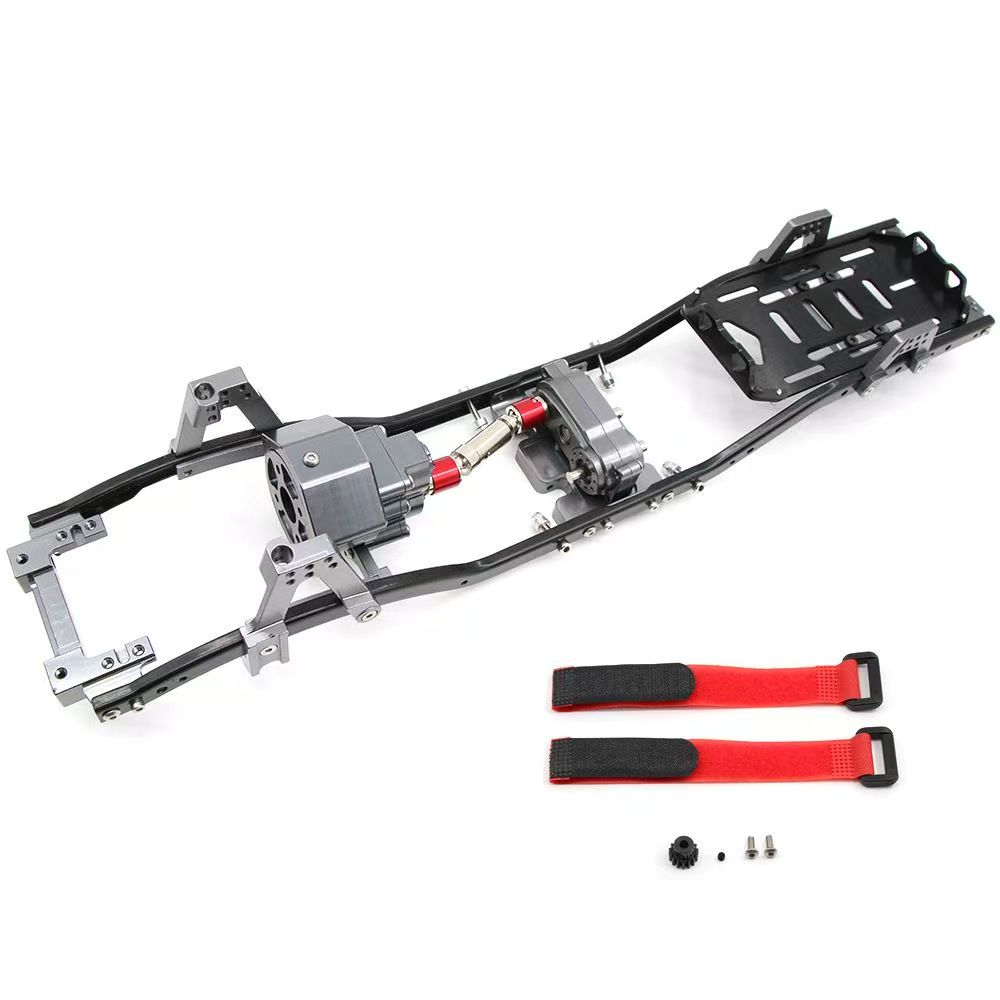
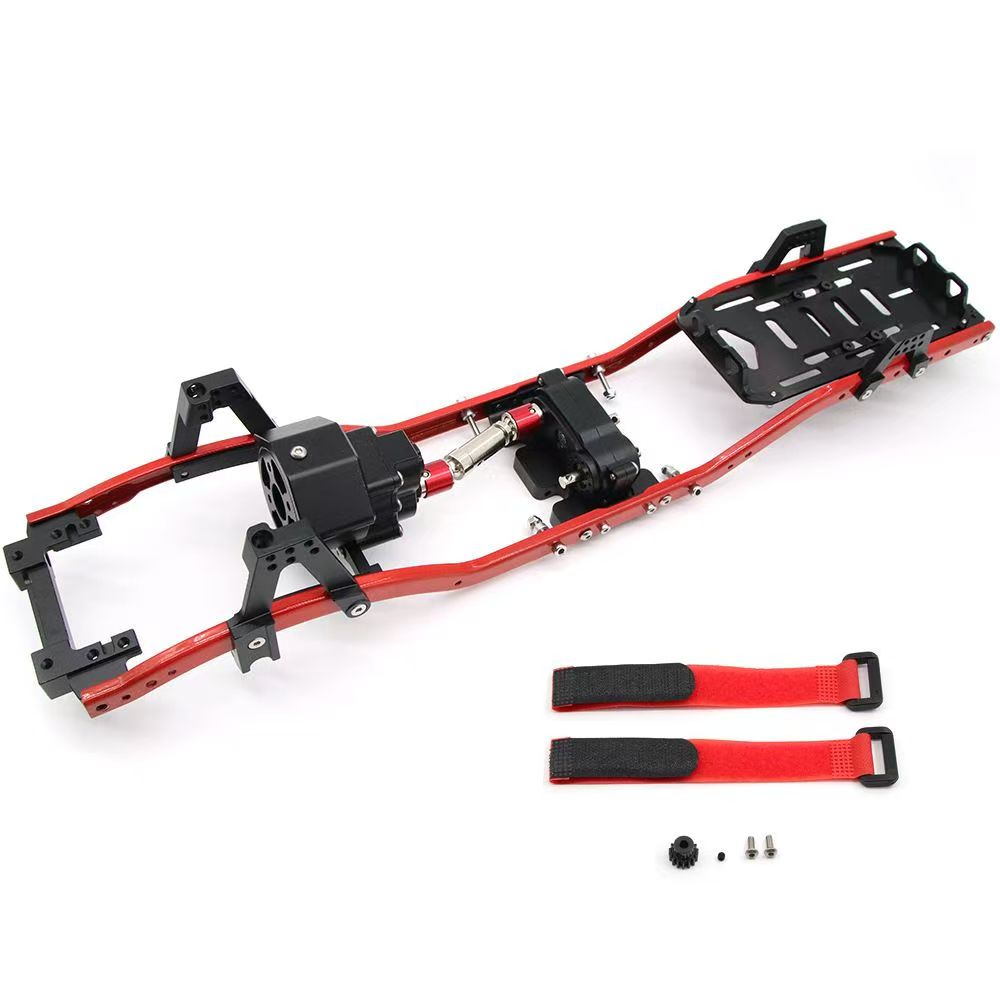
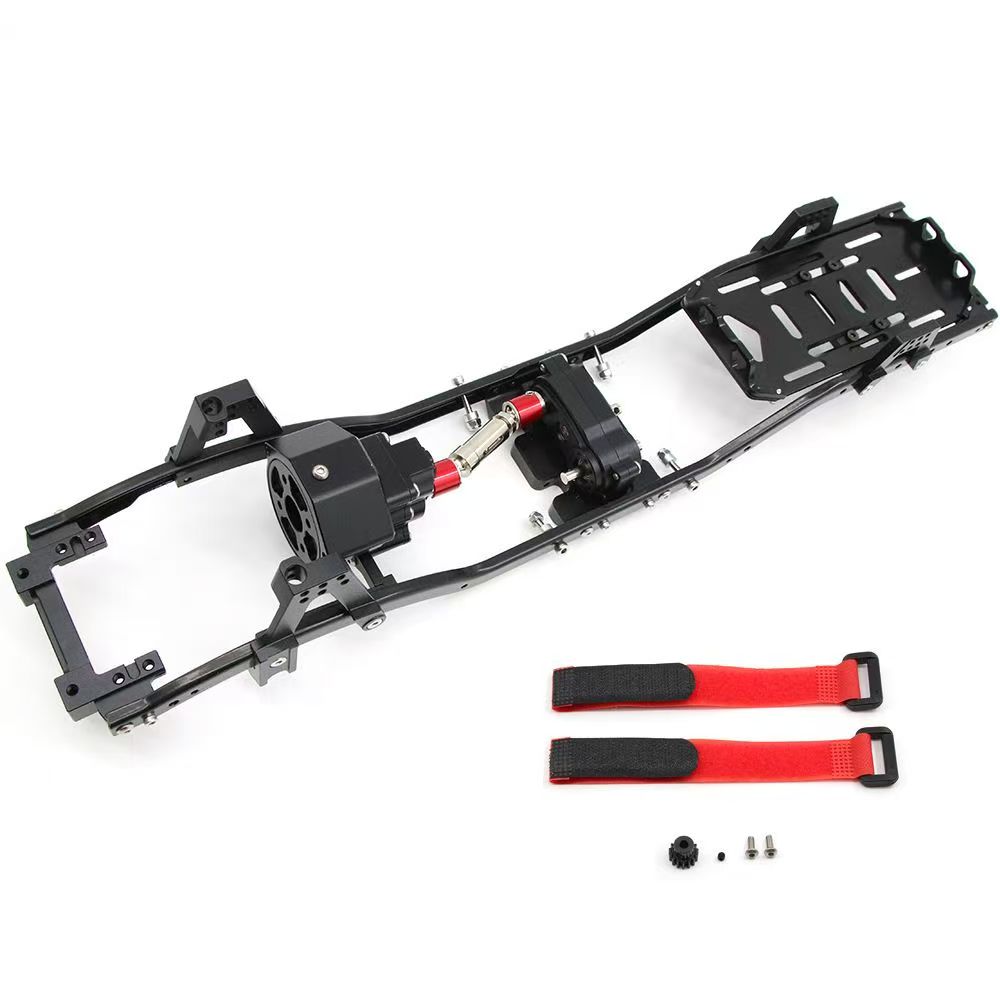
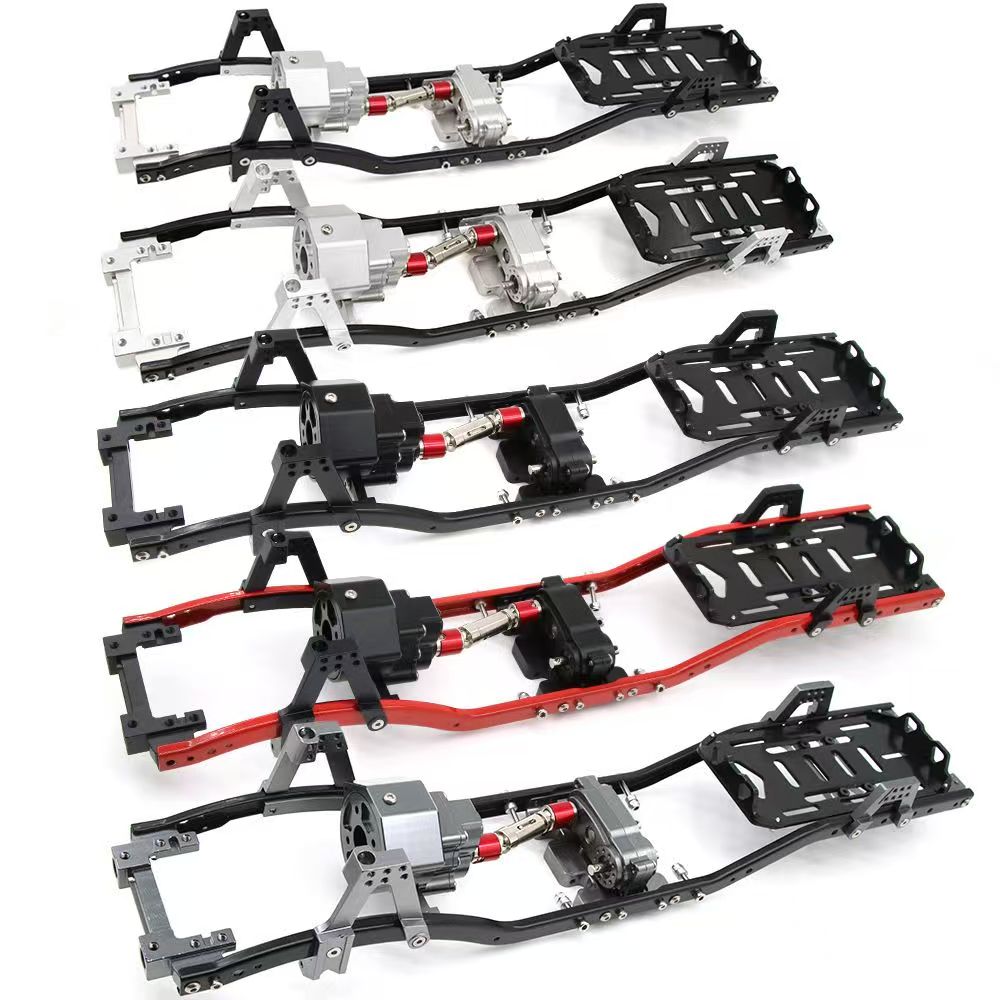
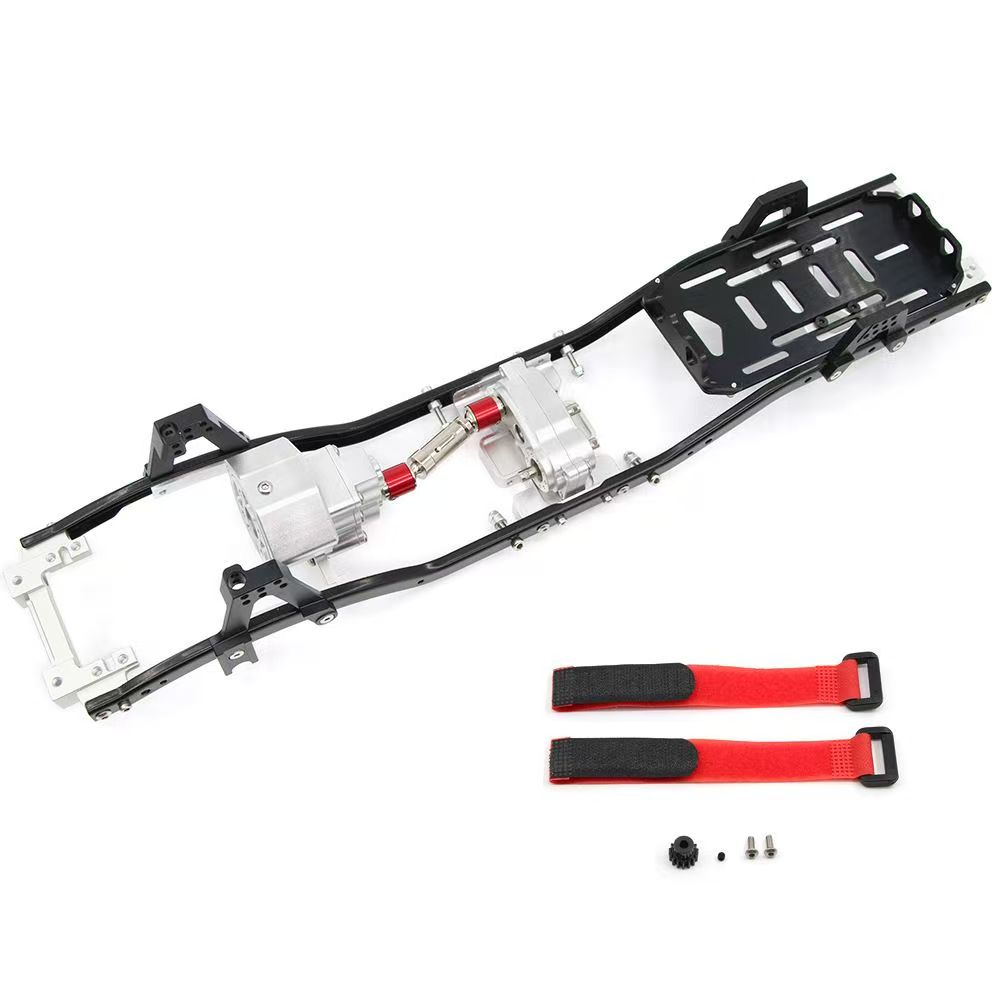
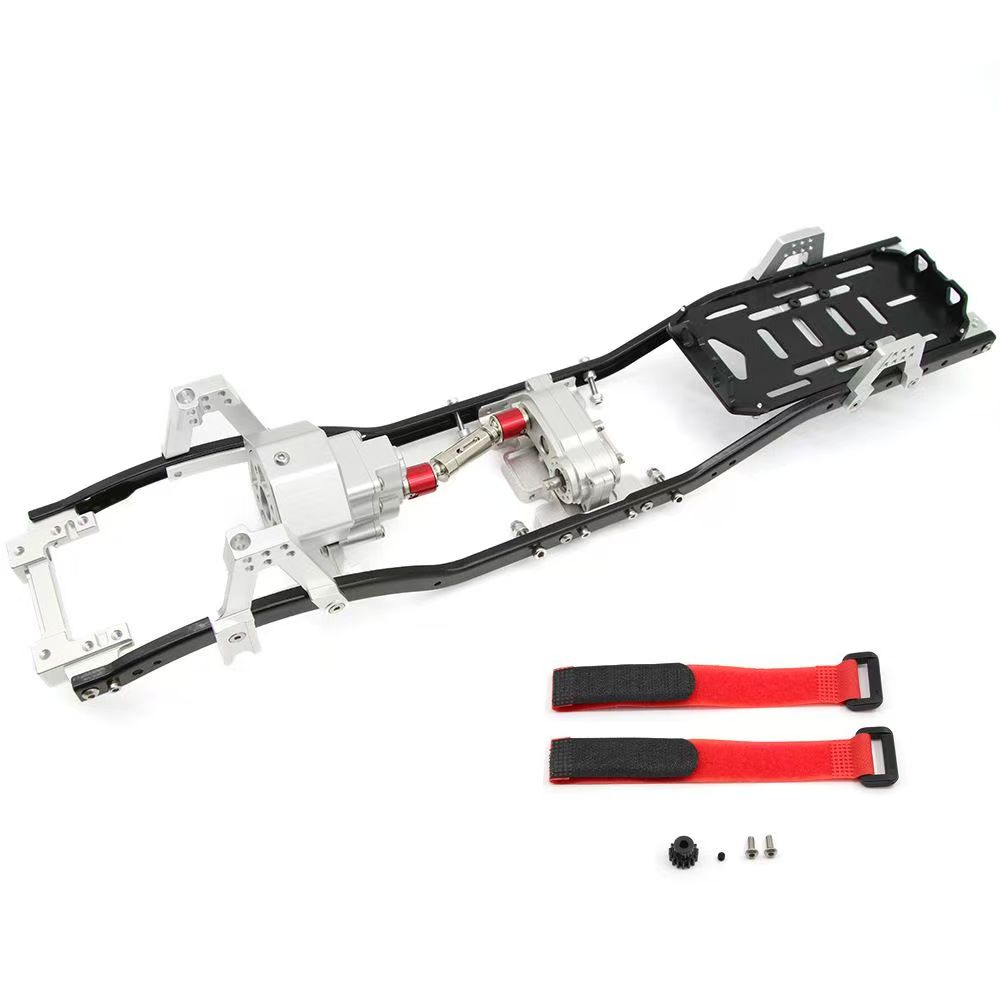
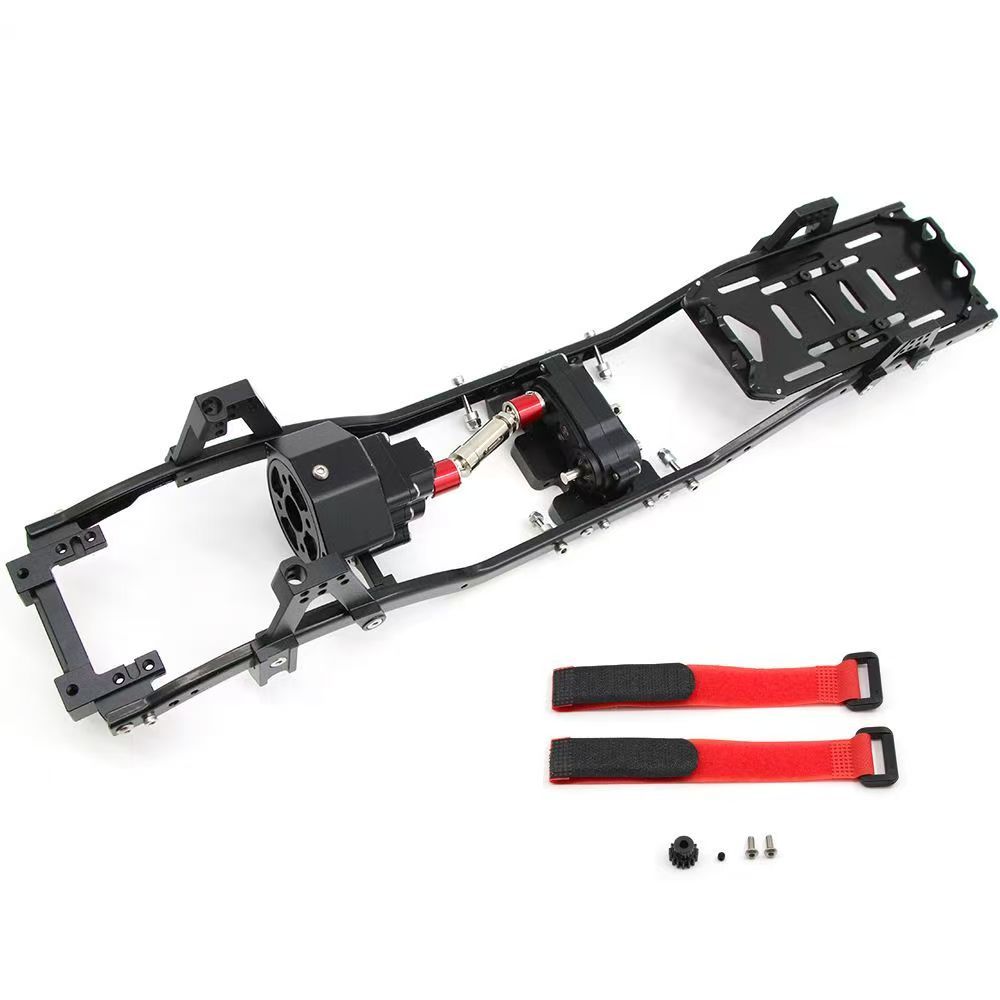
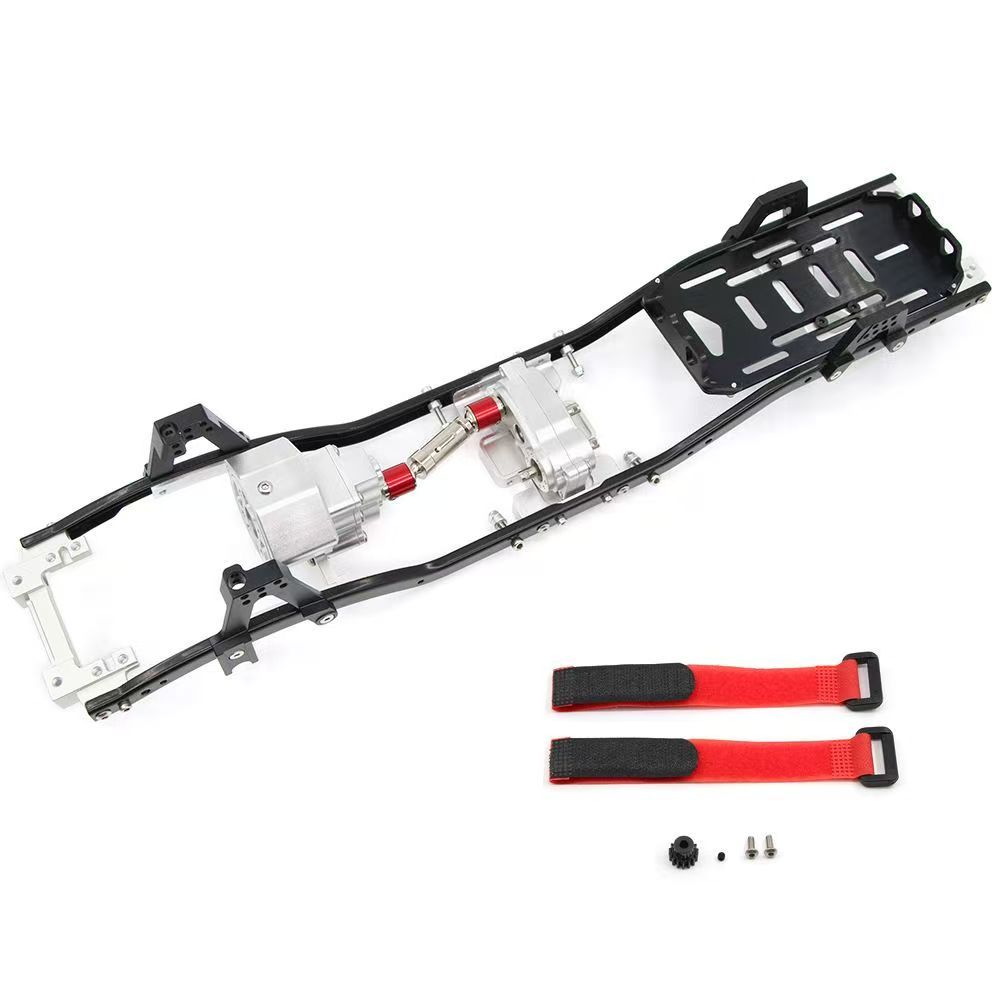
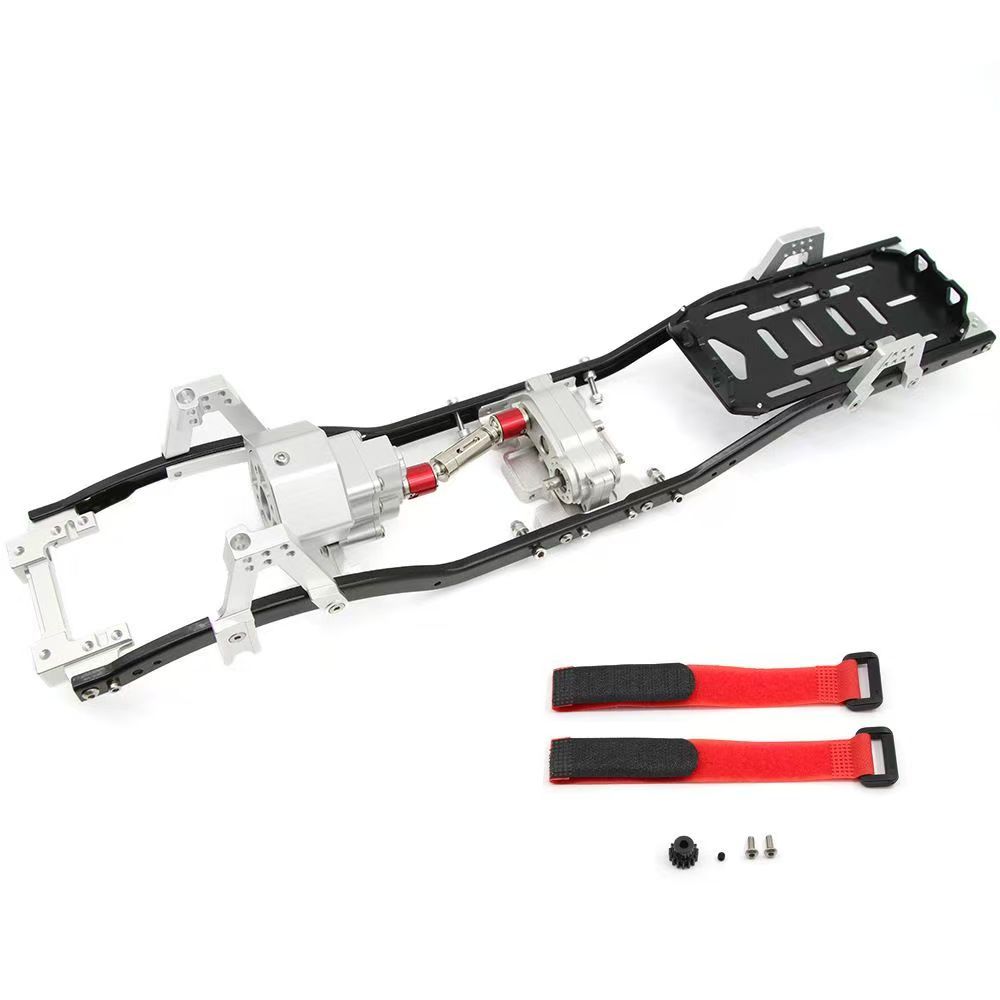
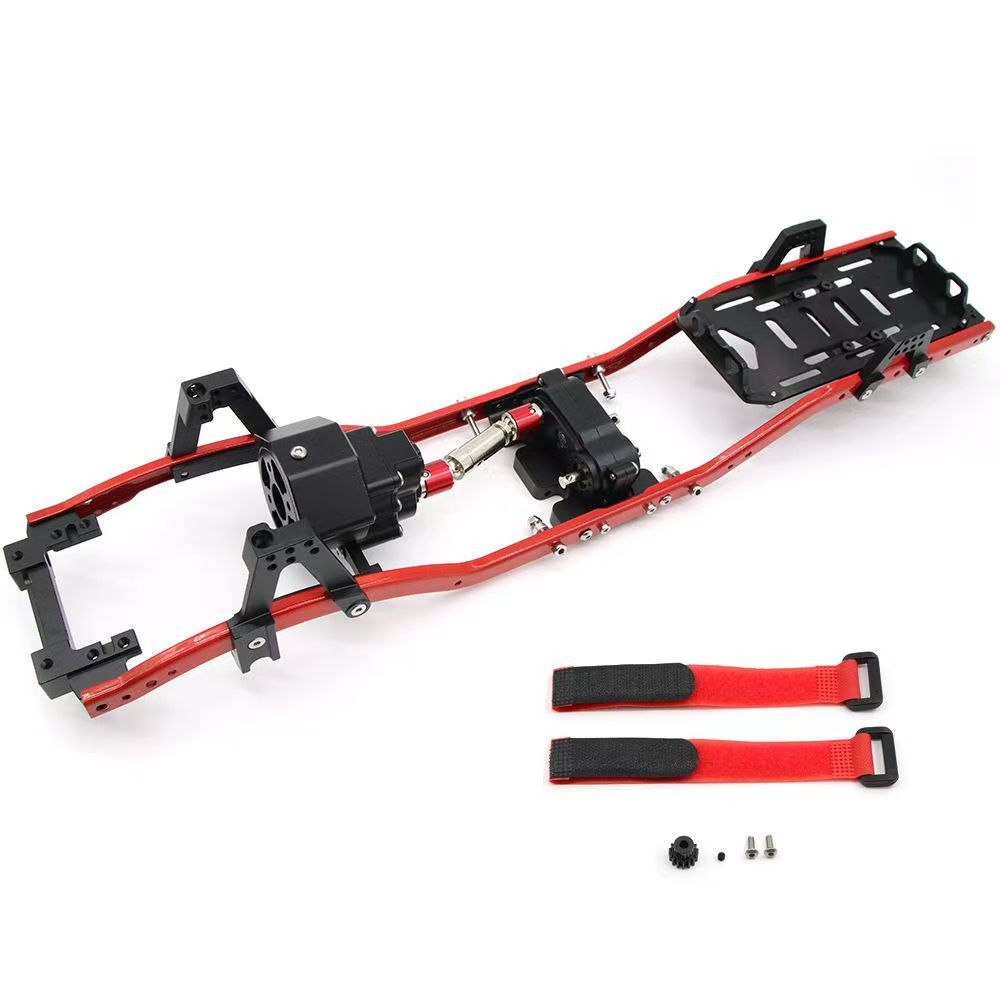
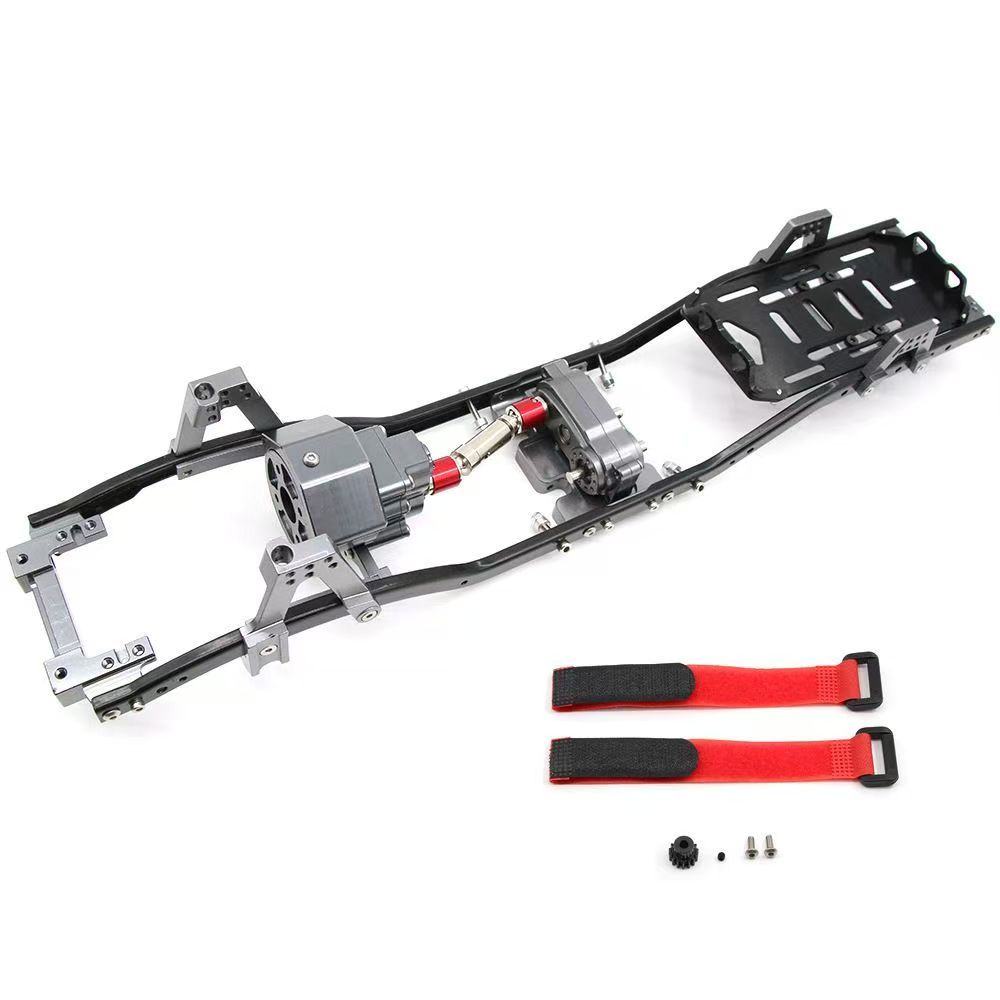
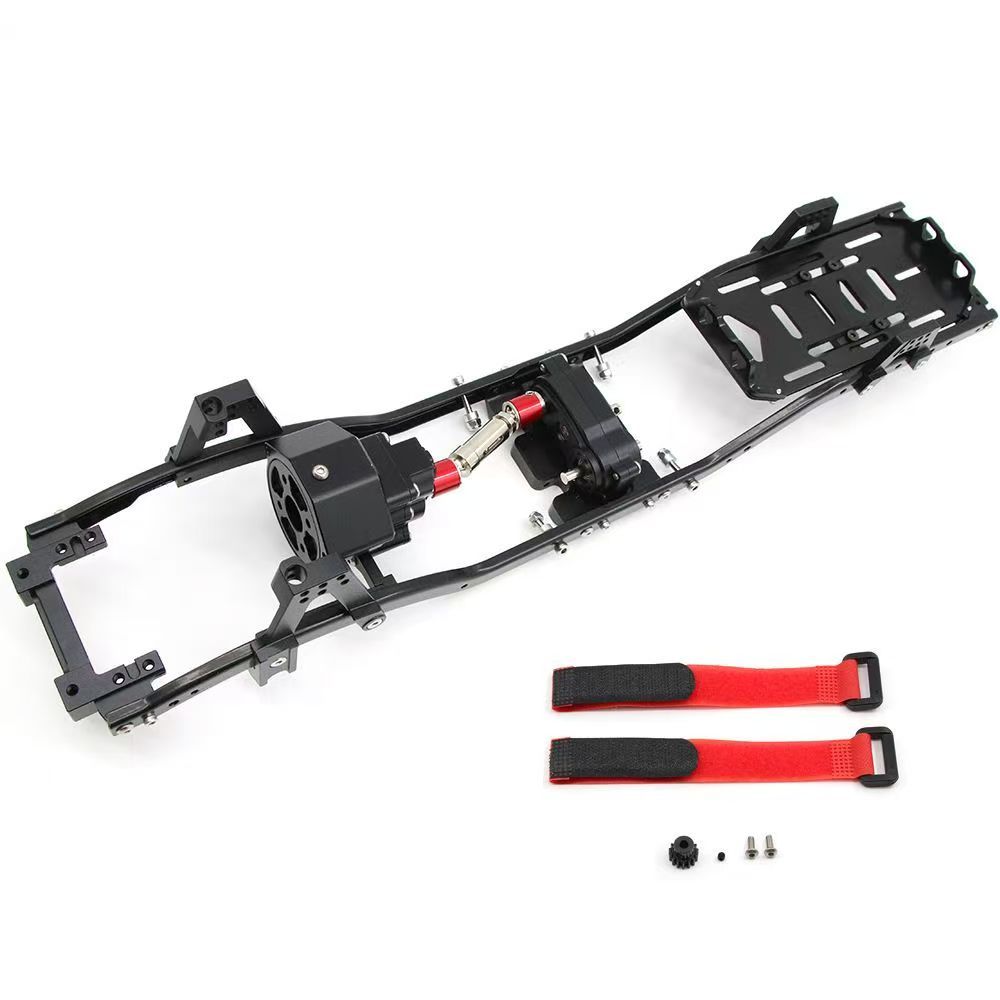
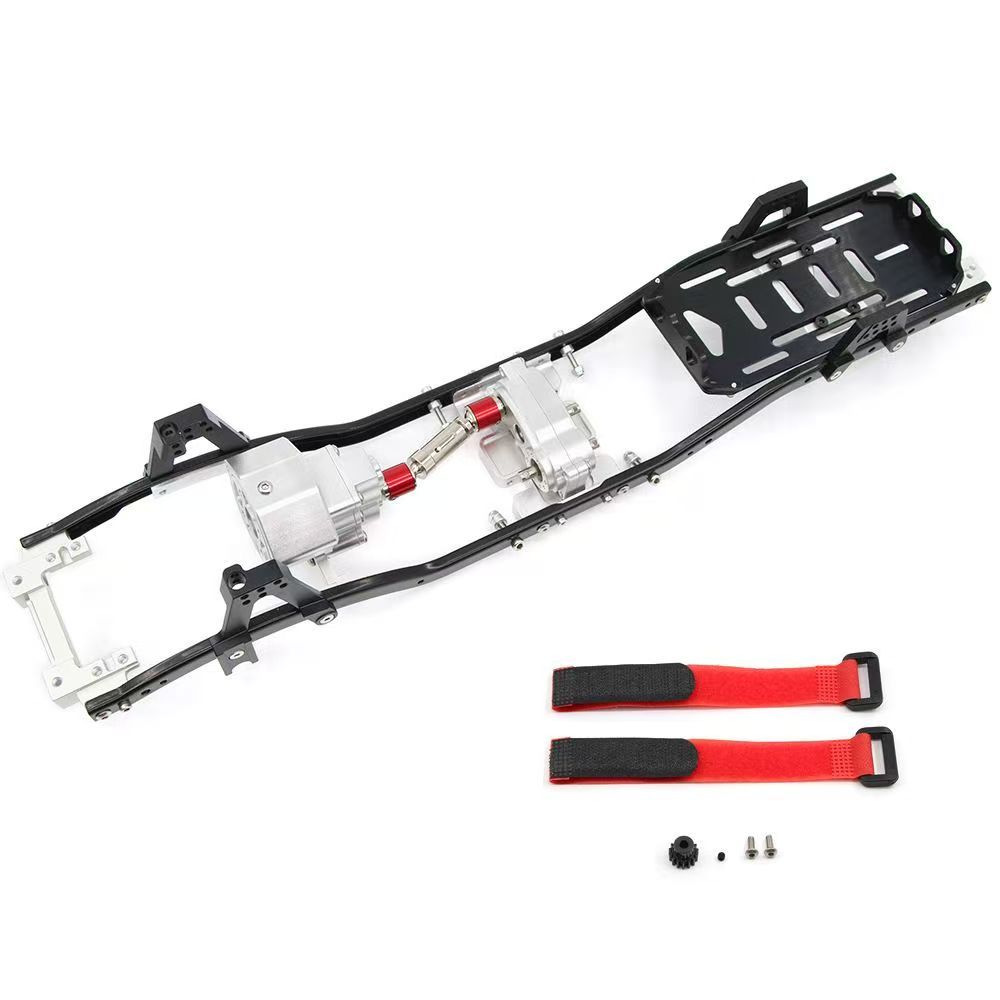
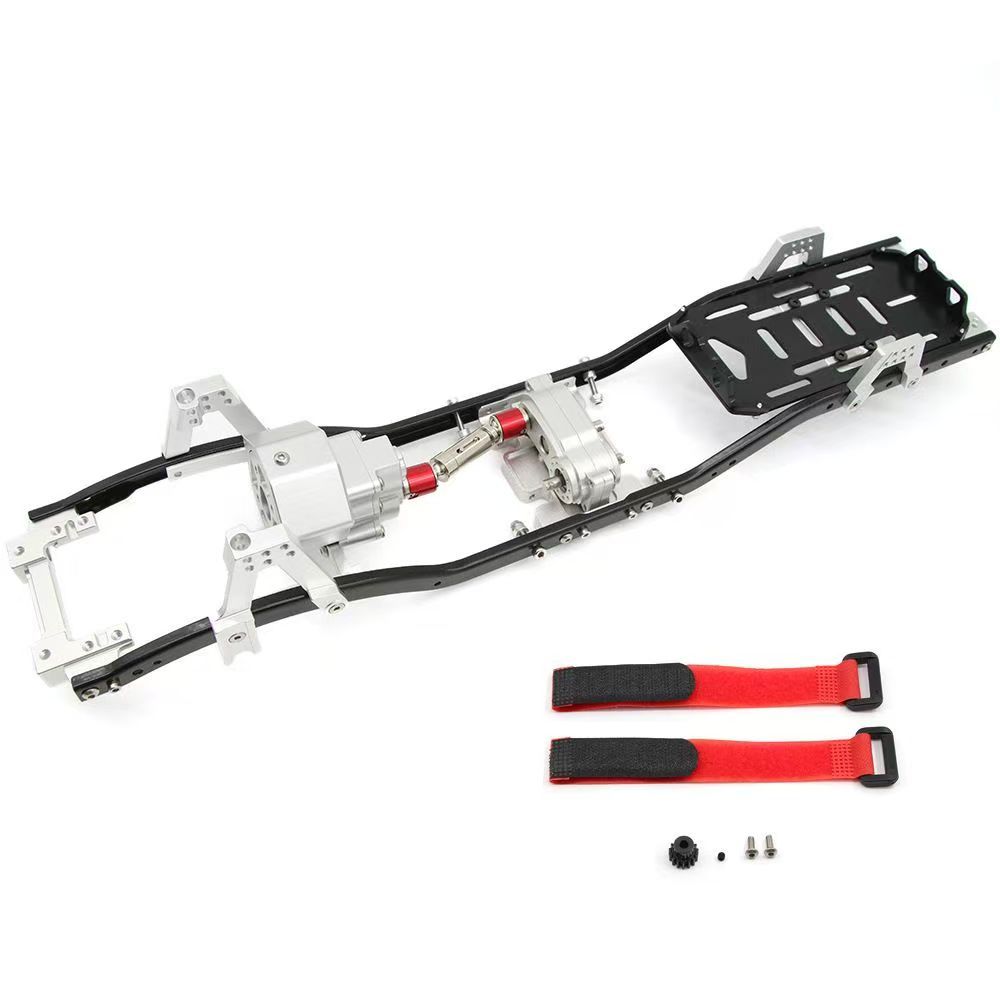
313mm Wheelbase Front Motor Metal Chassis for 1/10 SCX10 RC Crawler, CNC Aluminum Frame DB10
sku:
€136,95 EUR
€170,95 EUR
Risparmia €34,00 EUR
Spedizione gratuita
Quantità
Descrizione
Key Features
- Designed for 1/10 SCX10 crawlers, 313mm standard wheelbase, no body cutting required
- CNC-machined aluminum alloy construction, high strength and impact resistance
- Front motor layout optimizes weight distribution, improving climbing stability and passability
- Lightweight design, only 680g bare frame / 918g with packaging
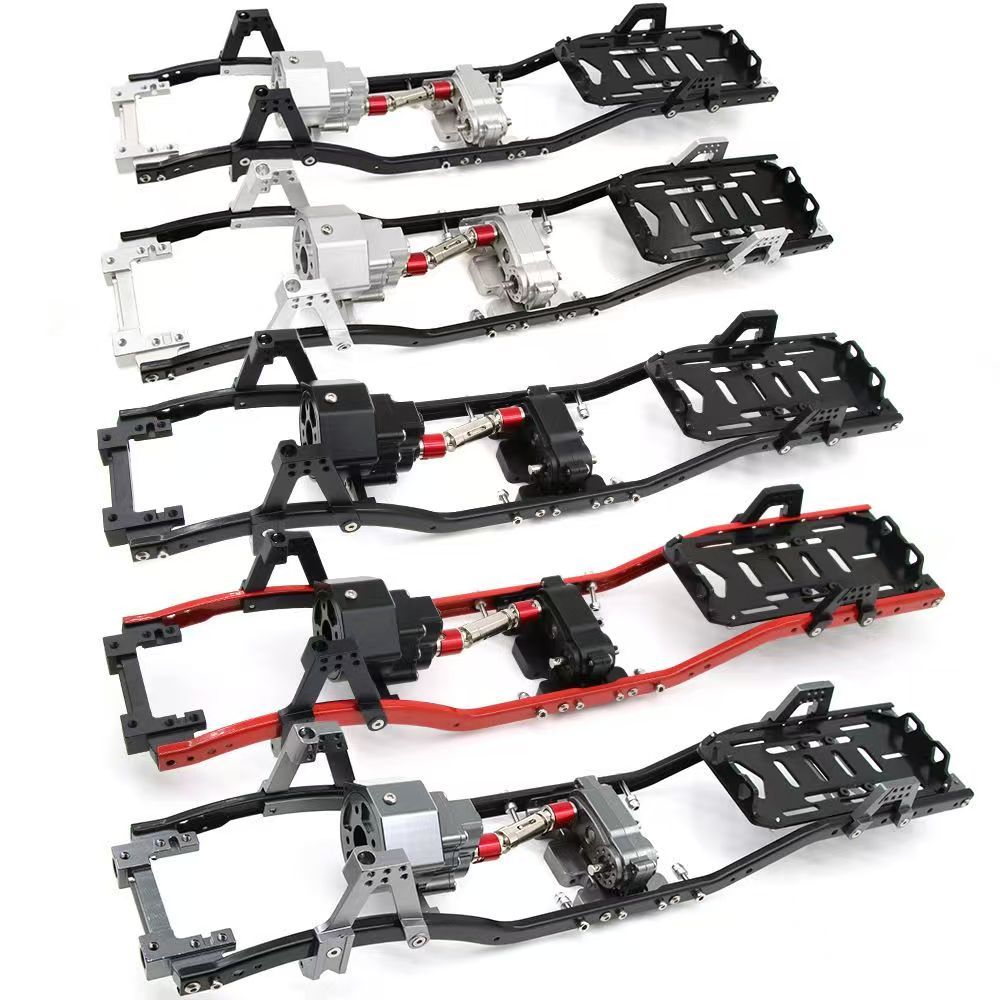
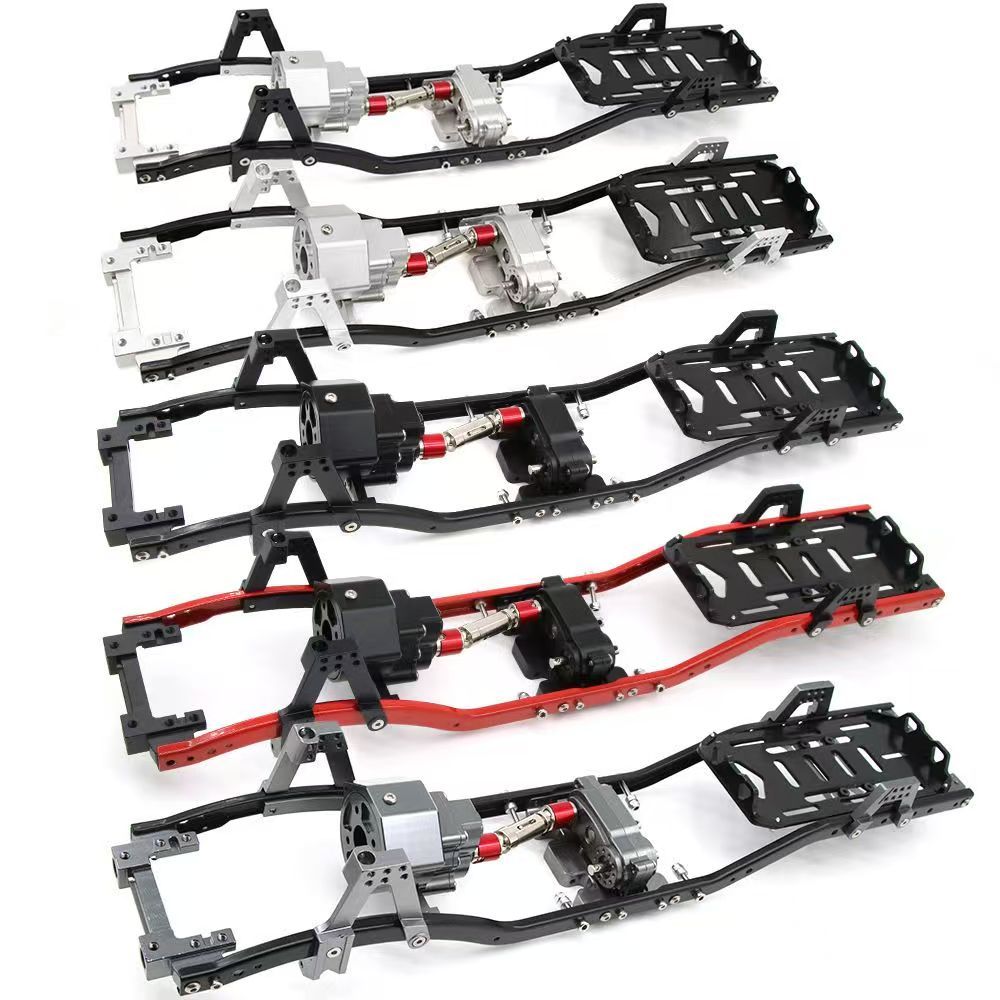
- Multiple color options, includes mounting accessories for direct assembly
Product Specifications
- Item Specification
- Compatible Models 1/10 SCX10 RC Crawler
- Wheelbase 313mm
- Material CNC Machined Aluminum Alloy
- Weight 680g (bare frame) / 918g (with packaging)
- Product Dimensions 433mm × 82mm × 76mm
- Package Dimensions 490mm × 118mm × 97mm
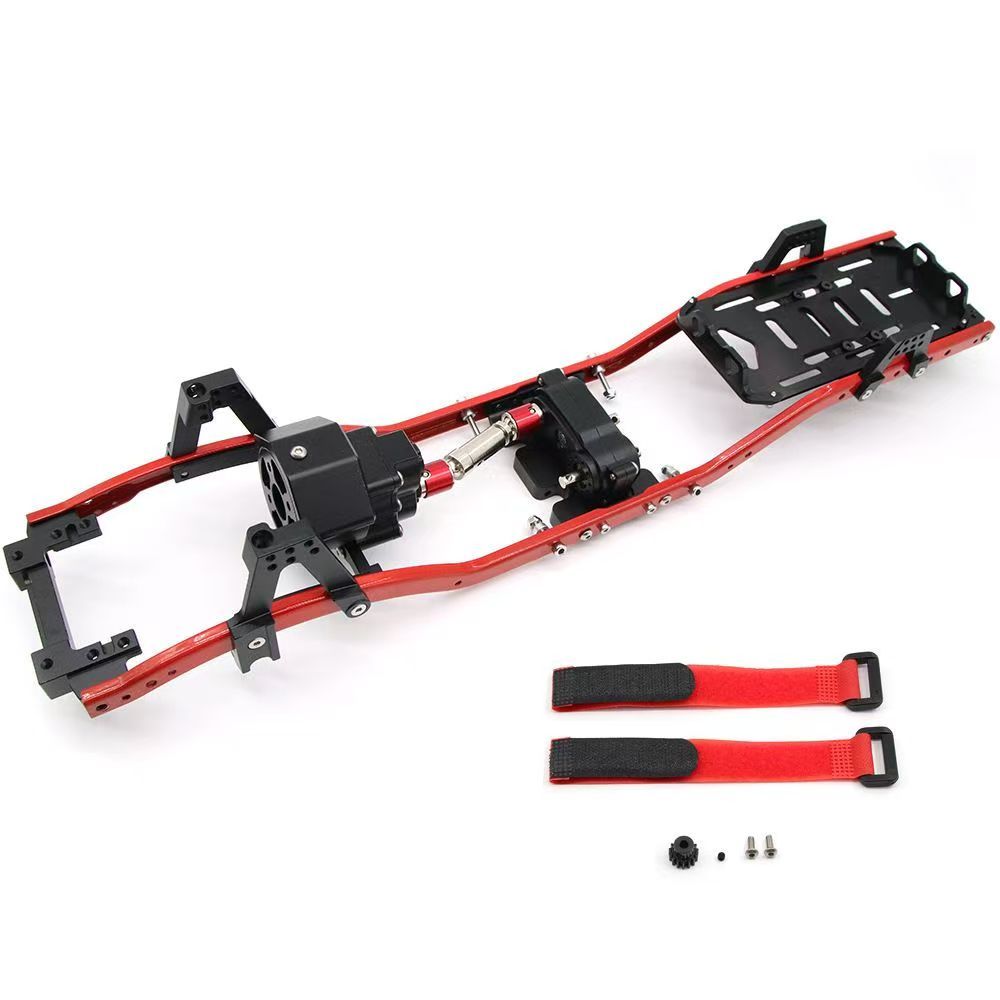
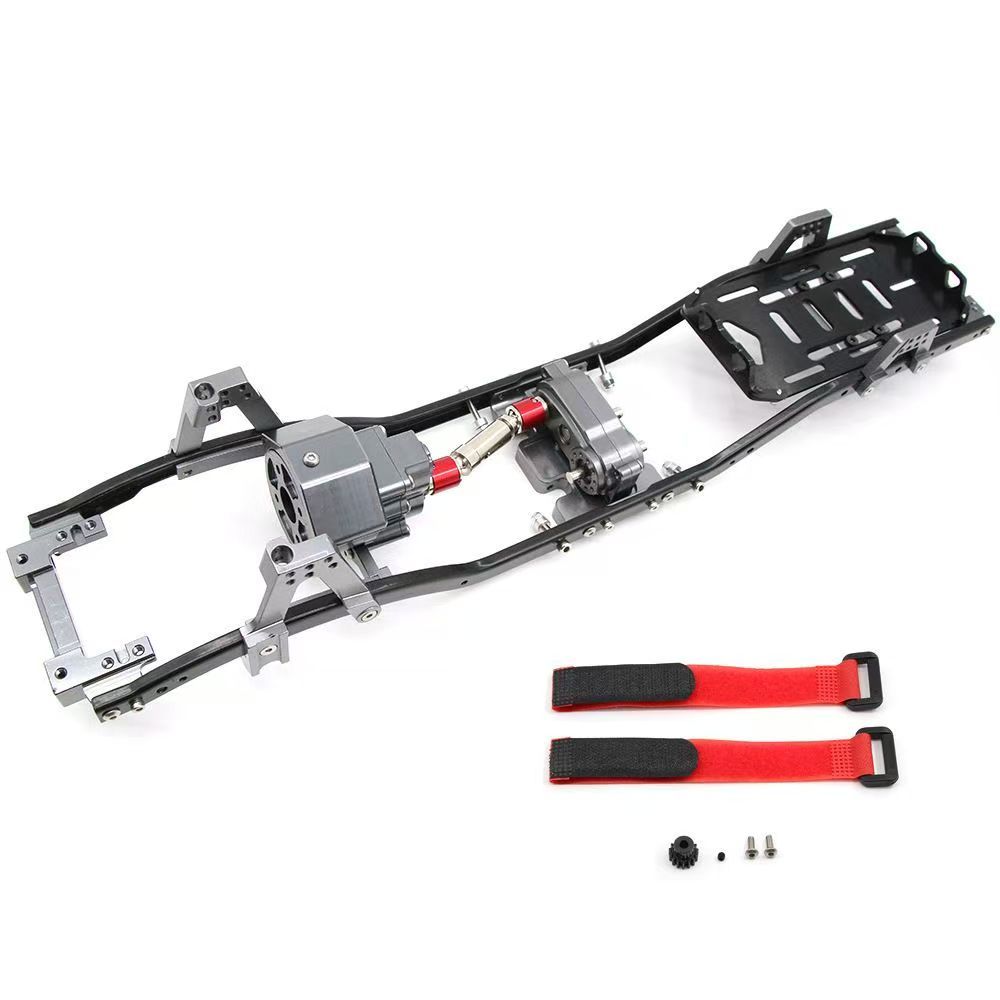
- Available Colors Red/Black, Silver/Black, All Black, etc.
- Package Contents 1× Chassis Frame, 2× Velcro Straps, 1× Set of Mounting Screws/Gears
Product Description
- This 313mm wheelbase front motor metal chassis is a high-performance upgrade designed for the 1/10 SCX10 RC crawler. Made of full CNC-machined aluminum alloy, it offers significantly higher rigidity and impact resistance than the original frame, effectively withstanding impacts and deformations during off-road use to extend service life.
- The front motor layout optimizes front-rear weight distribution and lowers the center of gravity, drastically improving climbing stability and passability on complex terrain, making it ideal for tube frame crawler modifications. The frame features a no-cut design that works with the original body without modification, paired with anodized finish for wear and corrosion resistance. Available in multiple colors, it is the perfect one-stop upgrade solution for RC enthusiasts.
Installation Instructions
- Remove the original frame and clean the screws and residual parts from the vehicle.
- Assemble the front motor and transmission system according to the instructions and fix them to the new frame.
- Install the body onto the frame, confirming the no-cut fit.
- Tighten all screws evenly in a diagonal sequence to avoid uneven stress on one side.
- After installation, check the mounting of the motor, drive shaft, and frame, test for smooth rotation, and confirm before use.
Notes
- Please confirm model and wheelbase compatibility before ordering to avoid installation issues due to incorrect fit.
- Do not over-tighten the screws during installation to prevent thread stripping or metal part deformation.
- This is a precision machined part. Do not cut or modify the structure yourself, as this will void the return/exchange policy.
- It is recommended to check the screw tightness regularly after prolonged high-intensity use to prevent loosening.
Paesi disponibili per la consegna
Austria Belgio Bulgaria Canada Croazia Repubblica Ceca Danimarca Estonia Finlandia Francia Germania Ungheria Irlanda Italia Lettonia Lituania Lussemburgo Paesi Bassi Polonia Portogallo Romania Repubblica Slovacca Slovenia Spagna Svezia Regno Unito Stati Uniti
Accettiamo ordini solo dai Paesi sopra specificati. Per eventuali ordini errati effettuati da regioni non idonee, l'intero pagamento verrà restituito al tuo canale di pagamento originale entro un giorno lavorativo.
Austria Belgio Bulgaria Canada Croazia Repubblica Ceca Danimarca Estonia Finlandia Francia Germania Ungheria Irlanda Italia Lettonia Lituania Lussemburgo Paesi Bassi Polonia Portogallo Romania Repubblica Slovacca Slovenia Spagna Svezia Regno Unito Stati Uniti
Accettiamo ordini solo dai Paesi sopra specificati. Per eventuali ordini errati effettuati da regioni non idonee, l'intero pagamento verrà restituito al tuo canale di pagamento originale entro un giorno lavorativo.
- Tutti i prodotti includono spedizione e tasse gratuite, senza costi nascosti.
- Pagamento sicuro tramite PayPal, con garanzia di sicurezza dei fondi al 100%.
- Ogni ordine include informazioni di tracciamento logistico.
- Utilizziamo certificati SSL crittografati per garantire pagamenti sicuri al 100%.
-
Politica di reso/cambio entro 30 giorni
Procedura di reso e cambio
Politica di reso/cambio a copertura totaleNessun caso di reso/cambio
Precauzioni per resi/cambi
Estimated Shipping Widget will be displayed here!
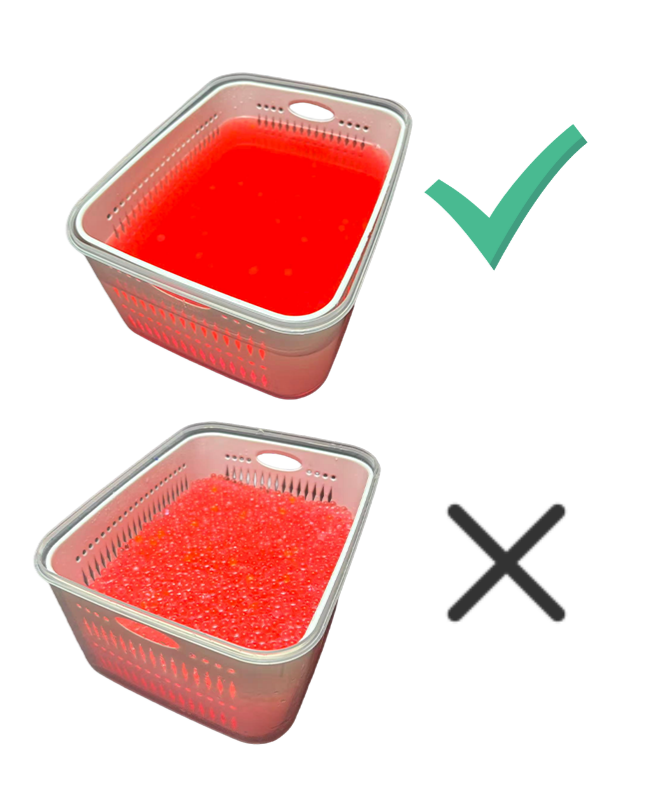
Come immergere correttamente le perle di gel d'acqua
- Prepara un contenitore e aggiungi abbondante acqua pulita per immergere completamente le perle di gel d'acqua.
- Lasciale in ammollo per 4-6 ore finché le perle non si espandono, si ammorbidiscono e diventano completamente gonfie.
- Tieni le perle completamente sott'acqua durante l'intero processo; In caso contrario, non saranno completamente immerse e potrebbero facilmente incepparsi.
- Se il tempo di ammollo non è sufficiente o non c'è abbastanza acqua, alcune perle di gel d'acqua non assorbiranno abbastanza acqua, il che potrebbe causare una cottura scadente o inceppamenti.
Domande frequenti
Consulta le domande frequenti qui. Se hai ancora bisogno di assistenza, contattaci all'indirizzo: service@myzooi.com.