
PEDIDOS DE $200+
8% de descuento
PEDIDOS DE $200+
CODE: TIENDA1
PEDIDOS DE $300+
10% de descuento
PEDIDOS DE $300+
CODE: TIENDA2
PEDIDOS DE $400+
12% de descuento
PEDIDOS DE $400+
CODE: TIENDA3
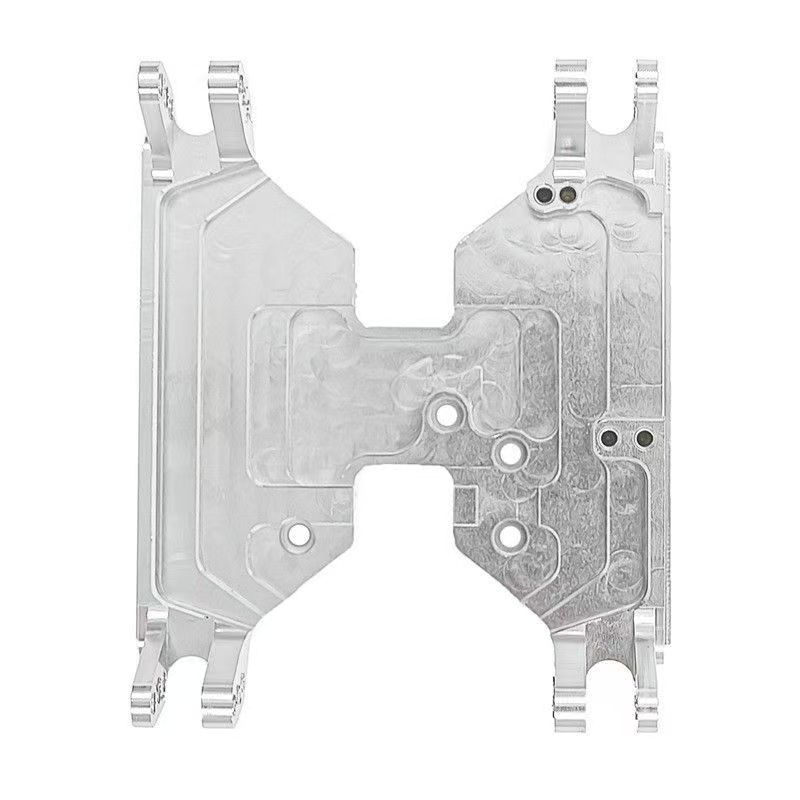
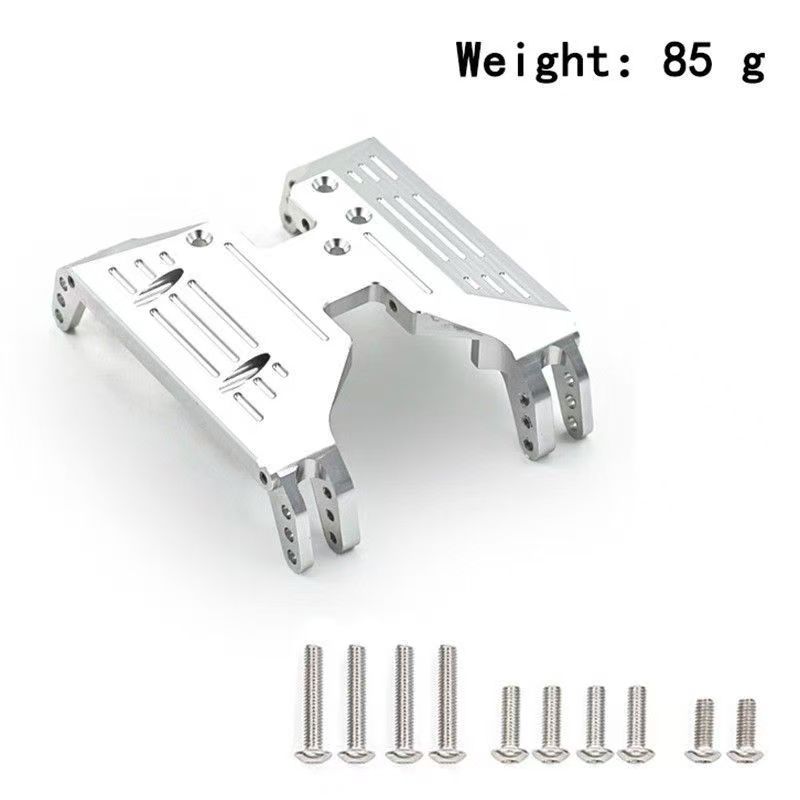
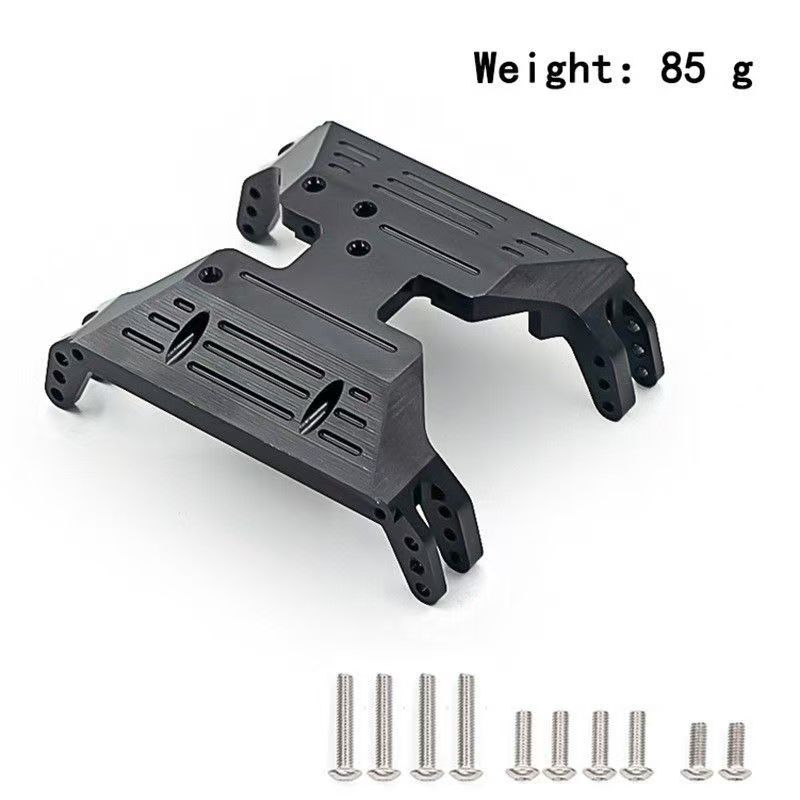
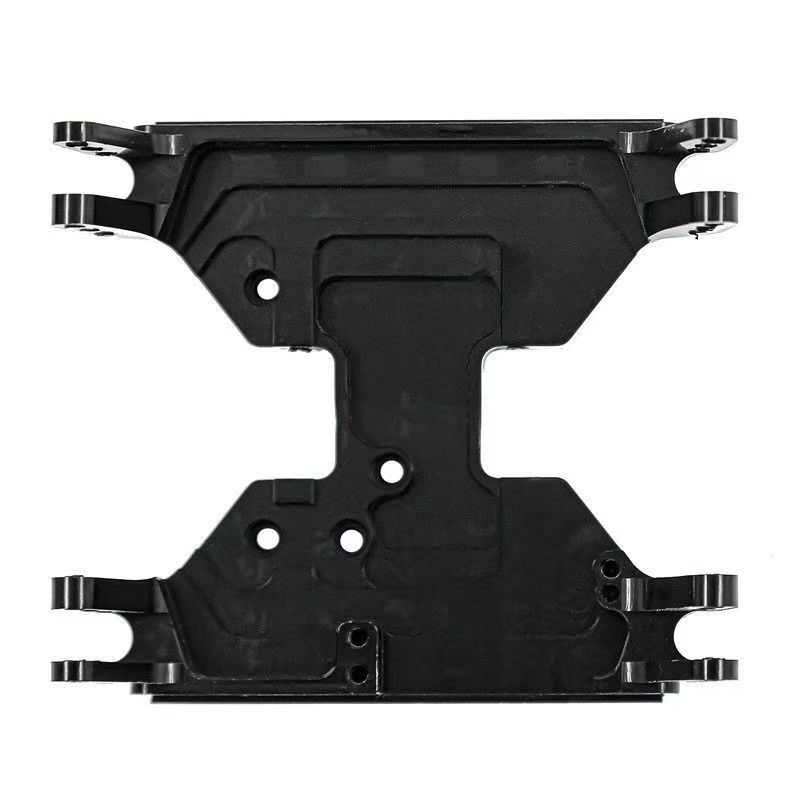
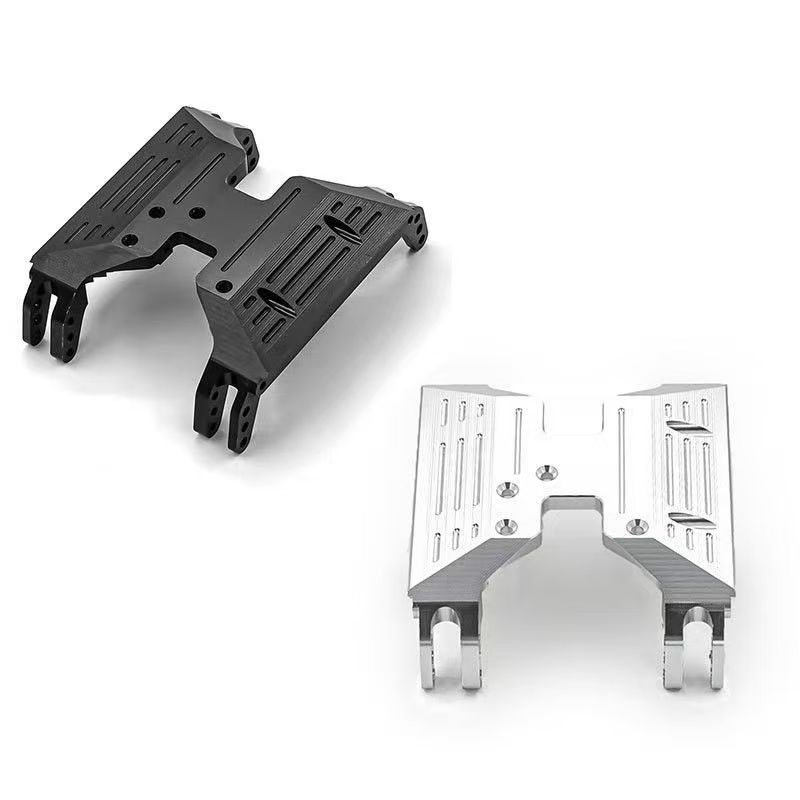
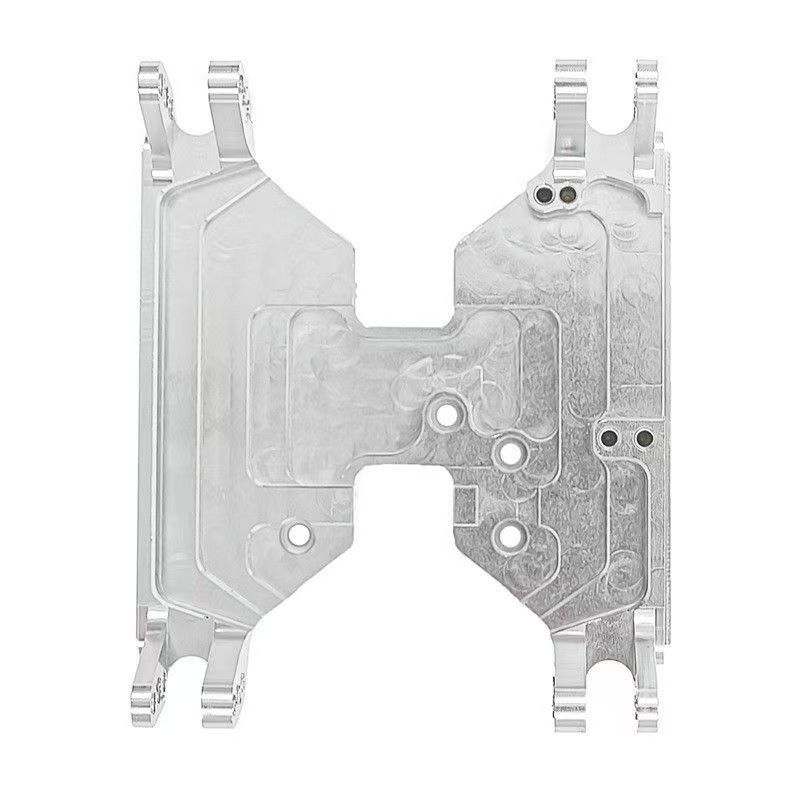
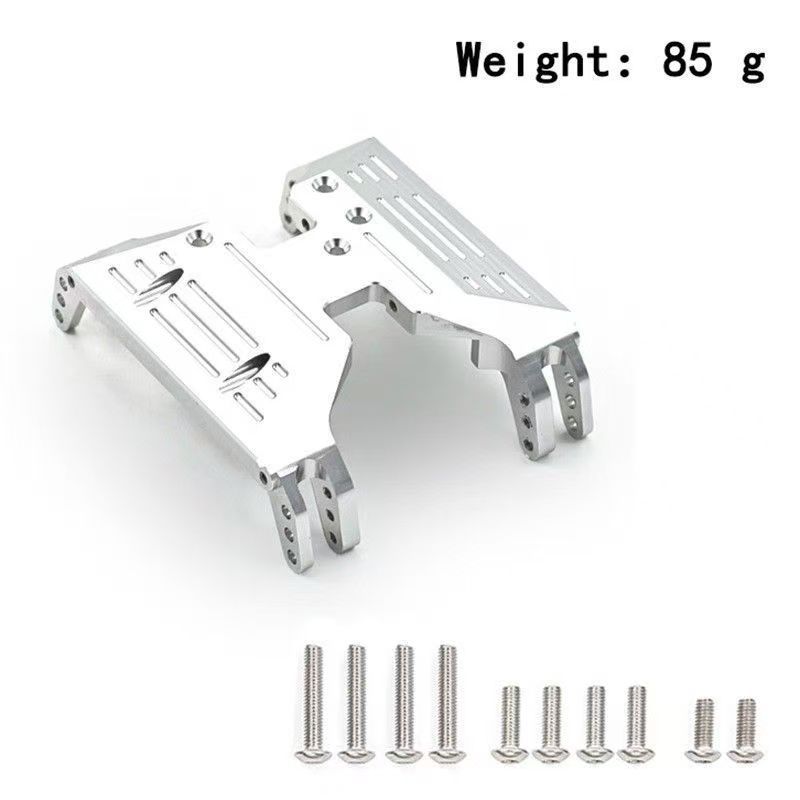
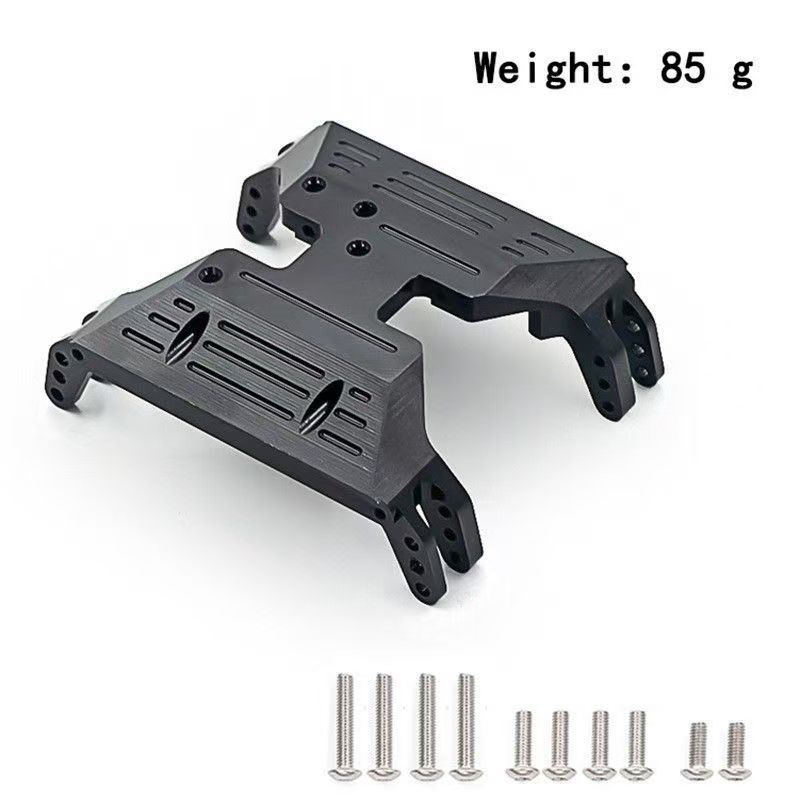
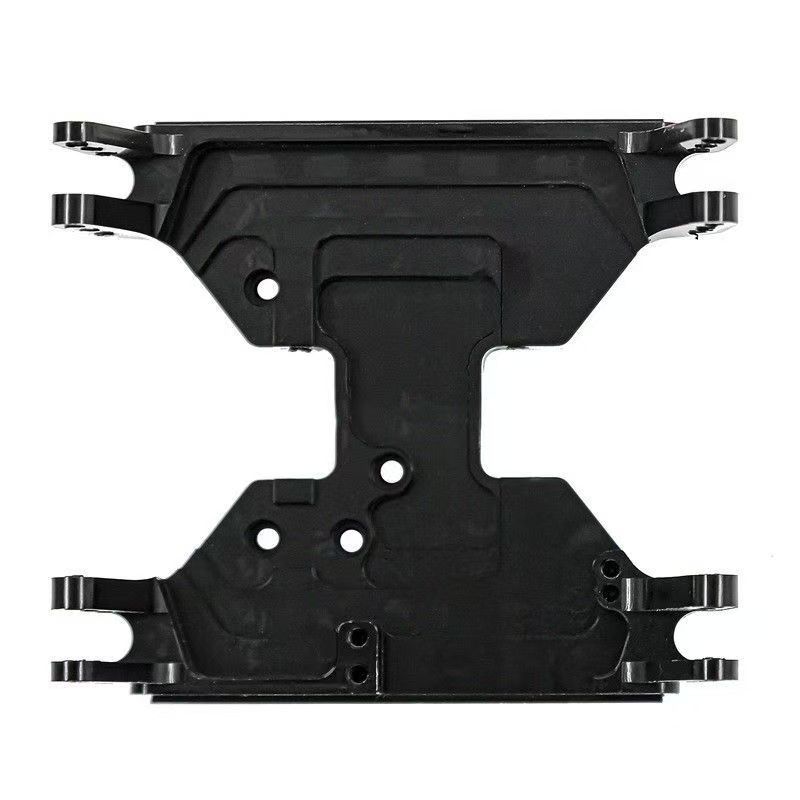
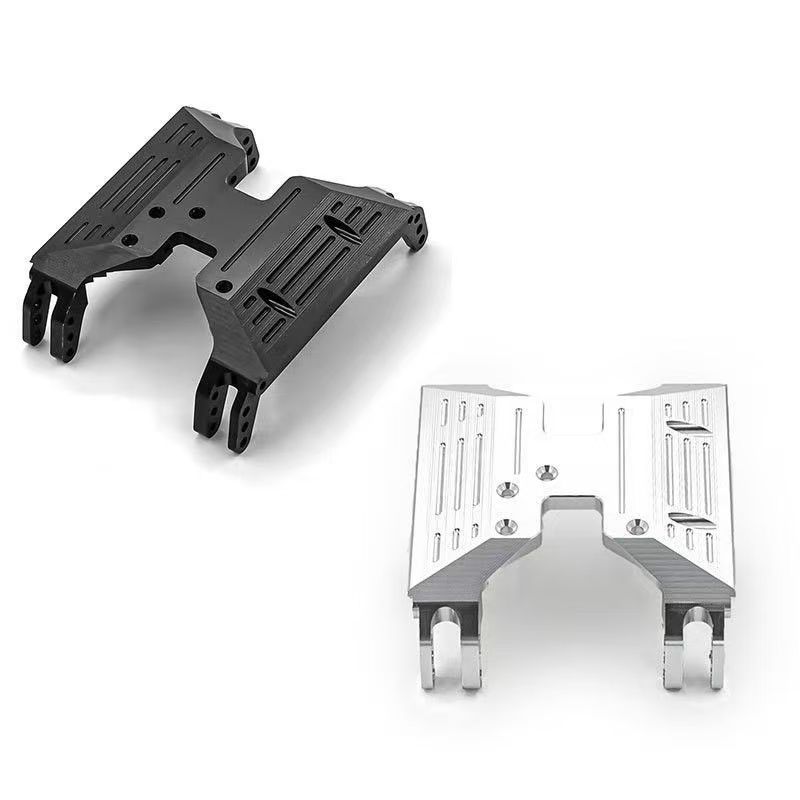
Aluminum Transmission Skid Plate Upgrade for Axial Capra 1.9 UTB AXI03004 1/10 RC Crawler BD06
sku:
€24,95 EUR
€41,95 EUR
Ahorra €17,00 EUR
Envío gratuito
Cantidad
Descripción
Key Features
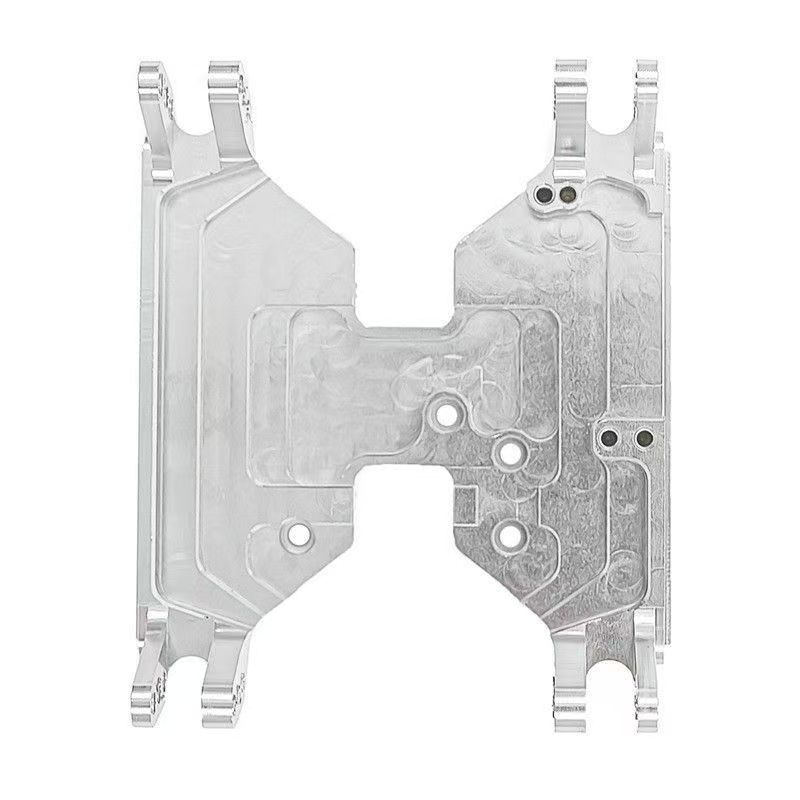
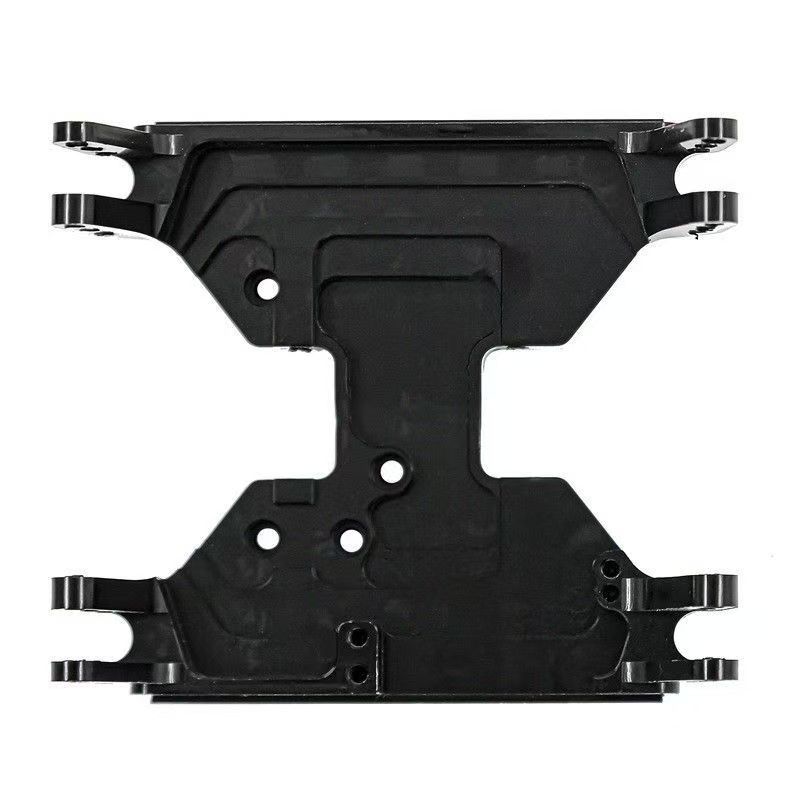
- Perfect fit for Axial Capra 1.9 UTB (AXI03004) stock frame, aligns with original mounting holes
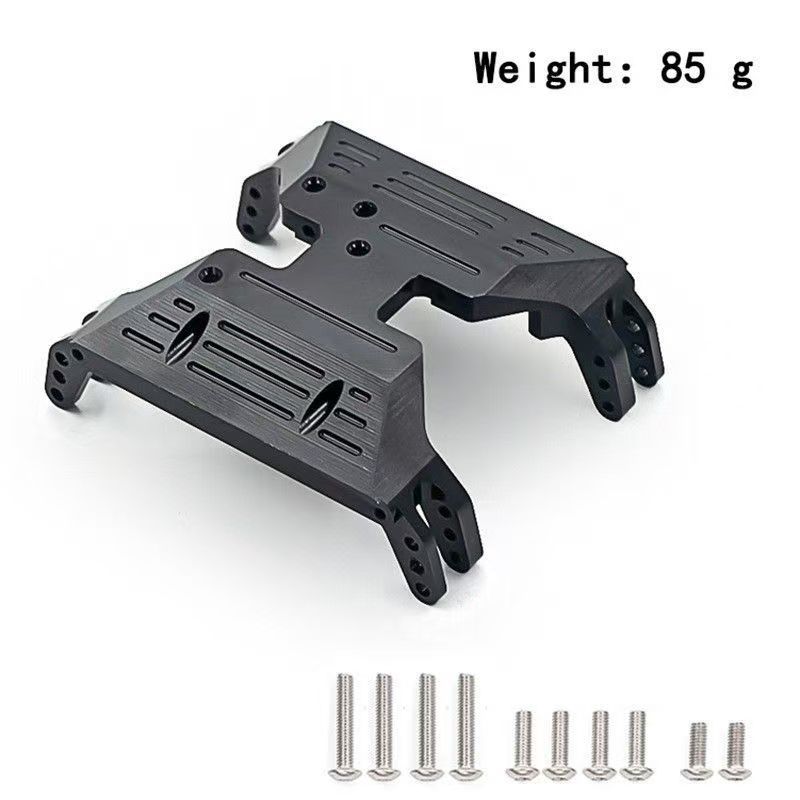
- CNC machined aluminum alloy construction, stronger than stock plastic parts, impact-resistant and durable
- Optimized chassis design lowers center of gravity, improving climbing stability and off-road performance
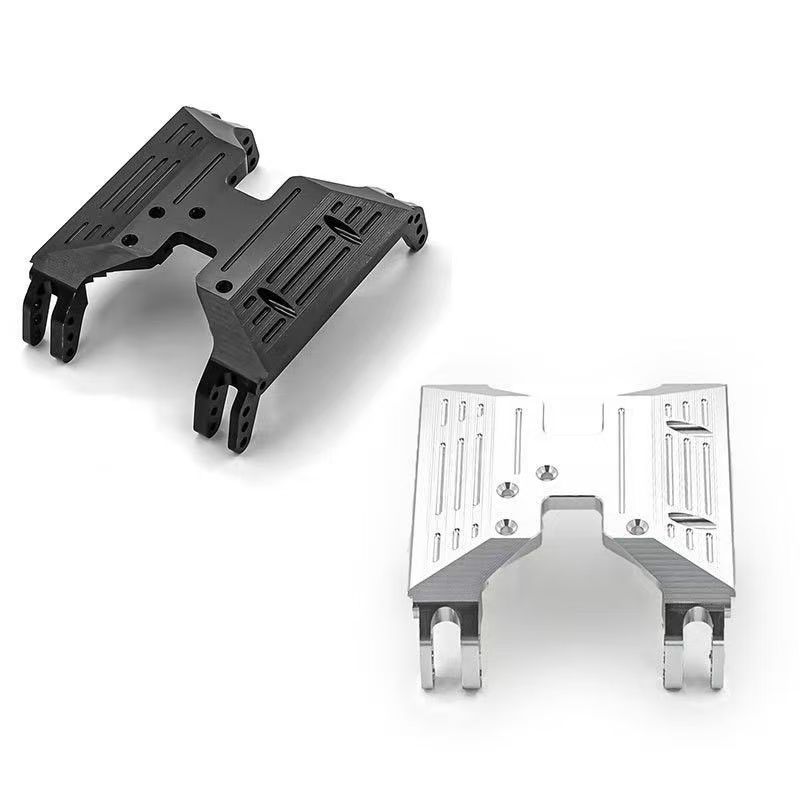
- Anodized surface for wear and corrosion resistance, available in black or silver
- Direct replacement for the original part, no extra modification required, easy to install
Product Specifications
- Item Specification
- Material Aluminum Alloy
- Compatible Models Axial Capra 1.9 UTB AXI03004 1/10 RC Crawler
- Available Colors Black, Silver
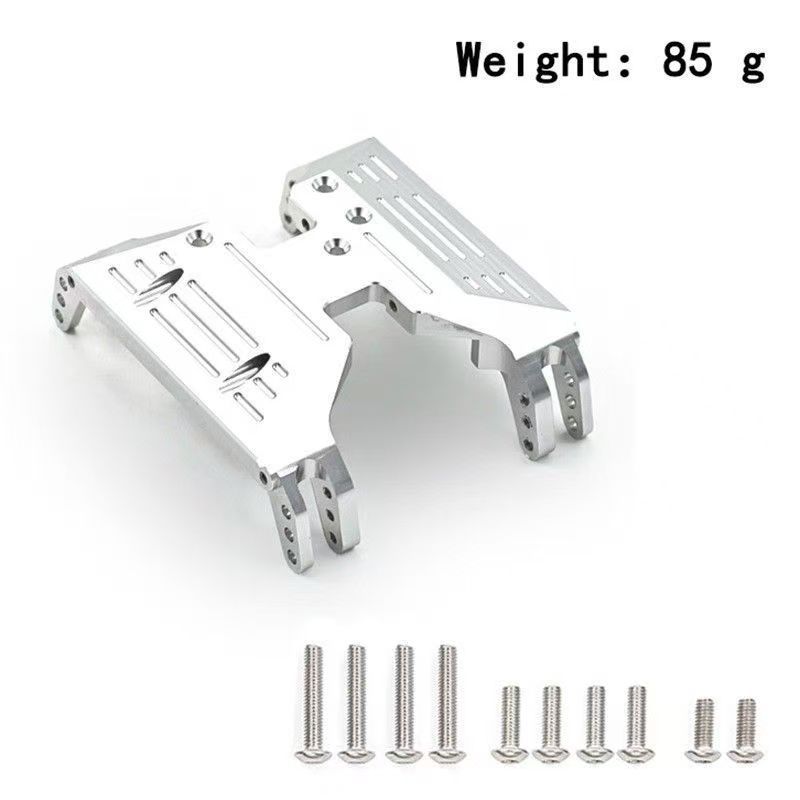
- Net Weight 85g
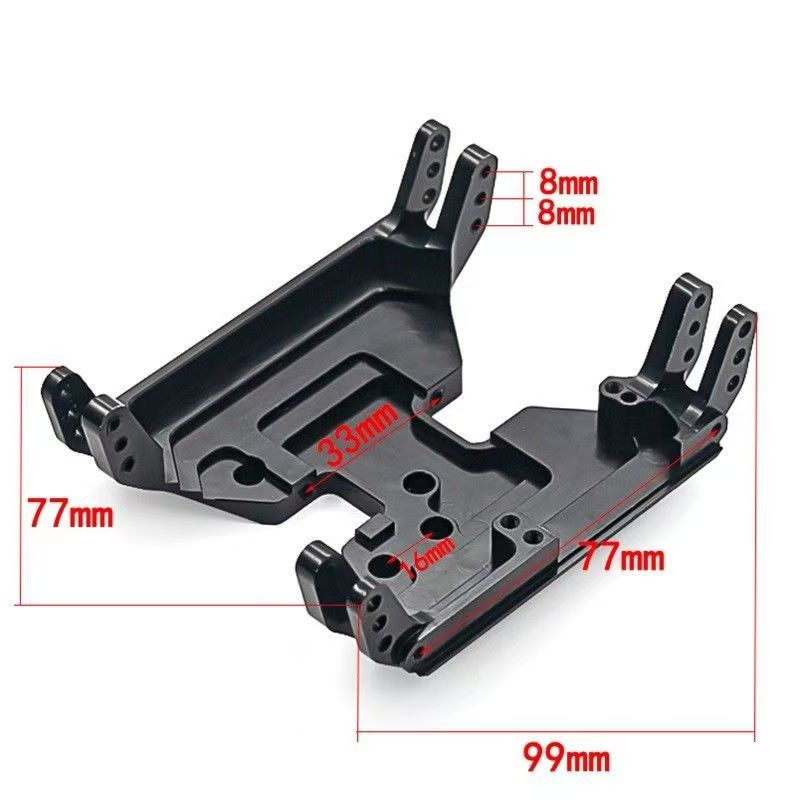
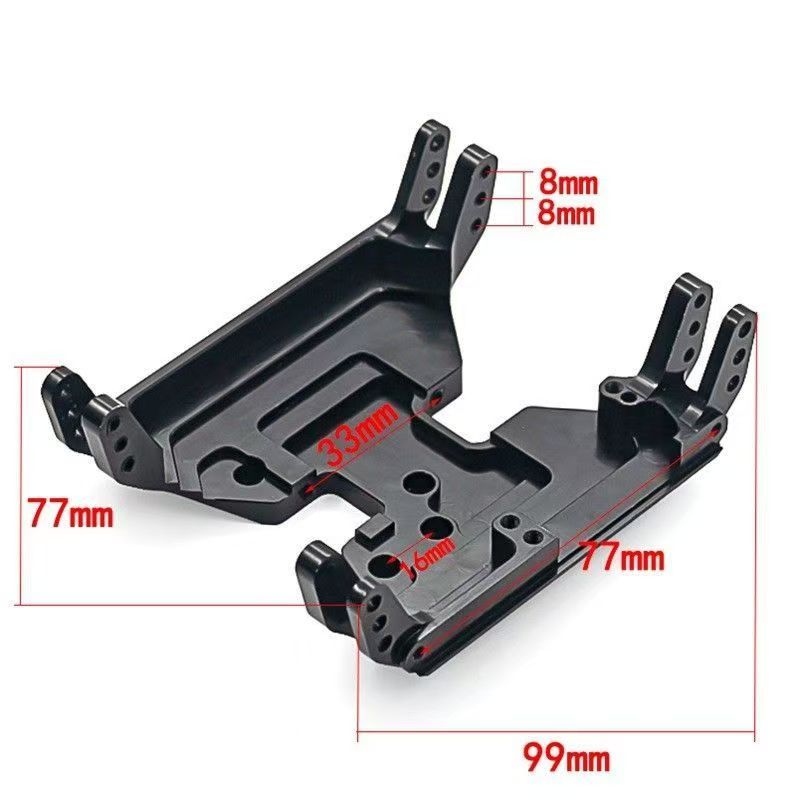
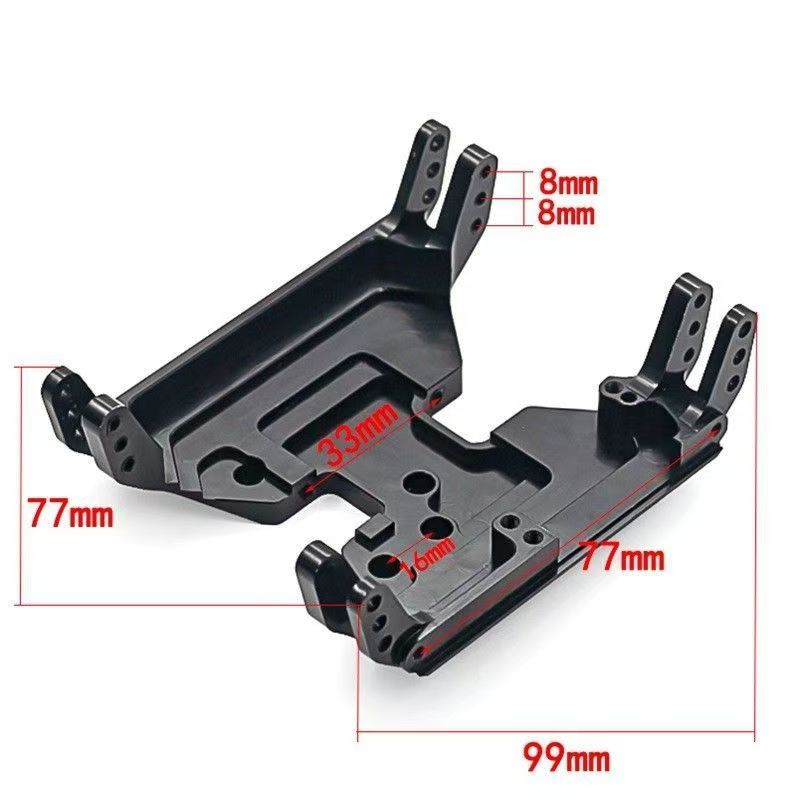
- Dimensions Length 99mm × Width 77mm
- Package Contents 1× Transmission Skid Plate
Product Description
- This aluminum transmission skid plate is a high-performance upgrade part designed specifically for the Axial Capra 1.9 UTB (AXI03004) 1/10 RC crawler. Made of premium aluminum alloy with precision CNC machining, it offers significantly higher impact resistance and rigidity than the original plastic part, effectively withstanding impacts and abrasions during off-road use to extend service life.
- The optimized structure lowers the vehicle's center of gravity, enhancing climbing stability and passability for better performance on complex terrain. The anodized surface provides excellent wear and corrosion resistance, while the two available colors (black and silver) add a personalized touch to your RC car. Designed with stock mounting holes, it can be directly installed without additional drilling or modification, making it a practical upgrade for RC enthusiasts looking to boost both performance and appearance.
Installation Instructions
- Remove the original transmission skid plate and clean the mounting area of dust and debris.
- Align this product with the original mounting holes and place it against the chassis, ensuring proper fit.
- Tighten the screws evenly in a diagonal sequence to avoid uneven stress on one side.
- After installation, check that the gearbox and chassis are securely fixed before use.
- Notes
- Please confirm model compatibility before ordering to avoid installation issues due to incorrect fit.
- Do not over-tighten the screws during installation to prevent thread stripping.
- This is a precision machined part. Do not cut or modify the structure yourself, as this will void the return/exchange policy.
- It is recommended to check the screw tightness regularly after prolonged high-intensity use.
Países disponibles para entrega
Austria Bélgica Bulgaria Canadá Croacia República Checa Dinamarca Estonia Finlandia Francia Alemania Hungría Irlanda Italia Letonia Lituania Luxemburgo Países Bajos Polonia Portugal Rumanía República Eslovaca Eslovenia España Suecia Reino Unido Estados Unidos
Solo aceptamos pedidos de los países especificados anteriormente. En caso de pedidos incorrectos realizados desde regiones no elegibles, se reembolsará el importe completo a su canal de pago original en un plazo de un día laborable.
Austria Bélgica Bulgaria Canadá Croacia República Checa Dinamarca Estonia Finlandia Francia Alemania Hungría Irlanda Italia Letonia Lituania Luxemburgo Países Bajos Polonia Portugal Rumanía República Eslovaca Eslovenia España Suecia Reino Unido Estados Unidos
Solo aceptamos pedidos de los países especificados anteriormente. En caso de pedidos incorrectos realizados desde regiones no elegibles, se reembolsará el importe completo a su canal de pago original en un plazo de un día laborable.
- Todos los productos incluyen envío e impuestos gratuitos, sin cargos ocultos.
- Pago seguro a través de PayPal, con garantía de seguridad del 100 %.
- Cada pedido incluye información de seguimiento logístico.
- Utilizamos certificados SSL encriptados para garantizar pagos 100 % seguros.
- Todos los lanzadores de gel vendidos por MYZOOI cumplen con la norma de seguridad para juguetes EN 71-1 de la UE. Todos los productos relevantes han completado el trámite aduanero, lo que garantiza cero riesgos en el despacho de aduanas y una entrega sin problemas de la mercancía.
Política de devolución/cambio de 30 días
Procedimiento de devolución y cambio
Política de devolución/cambio con cobertura total
No se aceptan devoluciones/cambios
Precauciones para devoluciones/cambios
Estimated Shipping Widget will be displayed here!
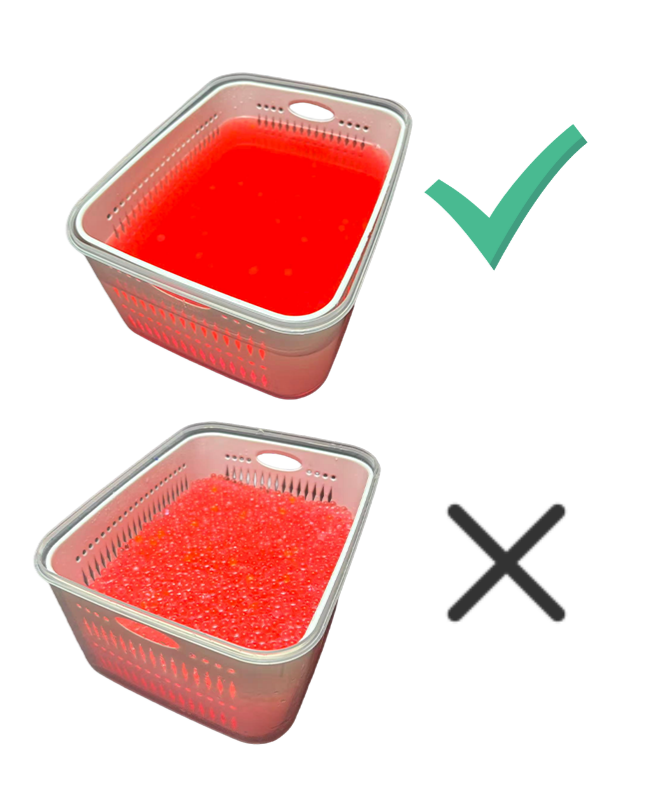
Cómo remojar correctamente las perlas de gel de agua
- Prepara un recipiente y añade abundante agua limpia para sumergir completamente las perlas de gel.
- Remójalas de 4 a 6 horas hasta que las perlas se expandan, se ablanden y adquieran volumen.
- Mantén las perlas completamente sumergidas durante todo el proceso. De lo contrario, no se empaparán completamente y podrían atascarse fácilmente.
- Si el tiempo de remojo es insuficiente o no hay suficiente agua, algunas perlas de gel de agua no absorberán suficiente agua, lo que puede provocar una cocción deficiente o atascarse.
Preguntas frecuentes
Consulta las preguntas frecuentes aquí. Si necesitas ayuda, contáctanos en: service@myzooi.com.