
ORDERS $200+
8% OFF
ORDERS $200+
CODE: SHOP1
ORDERS $300+
10% OFF
ORDERS $300+
CODE: SHOP2
ORDERS $400+
12% OFF
ORDERS $400+
CODE: SHOP3
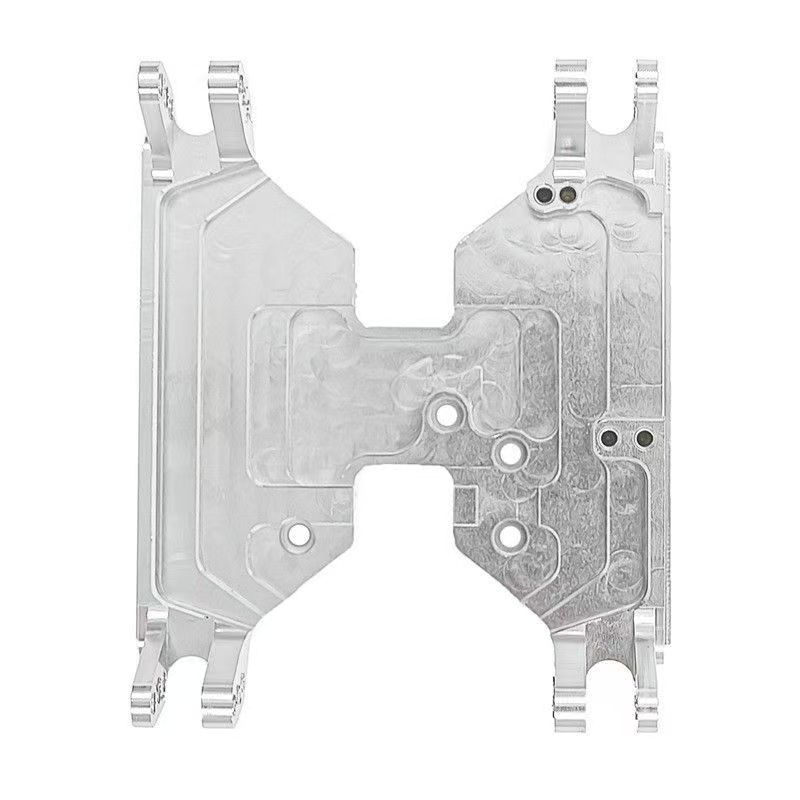
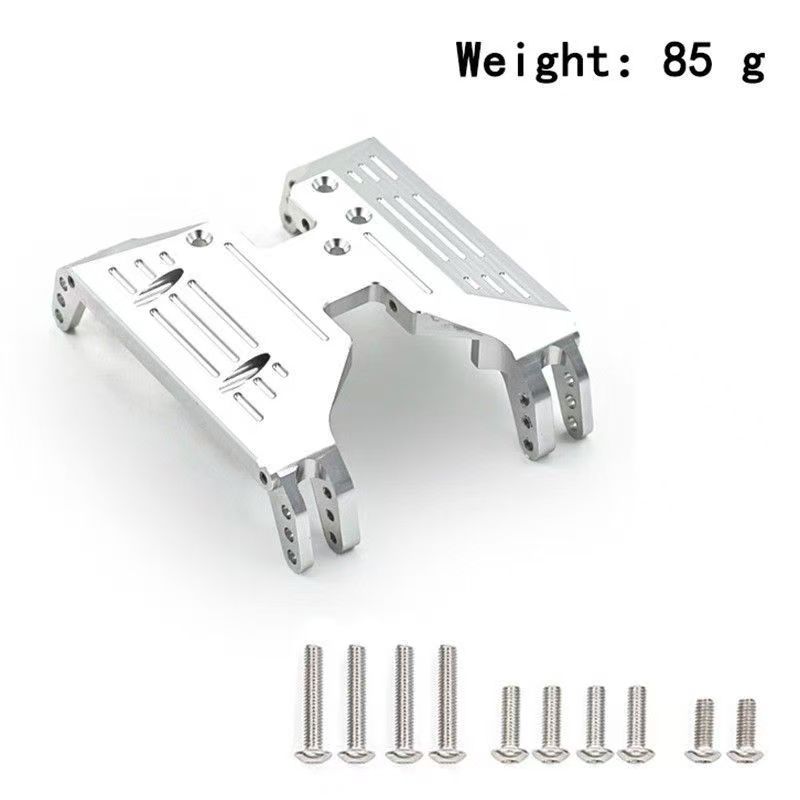
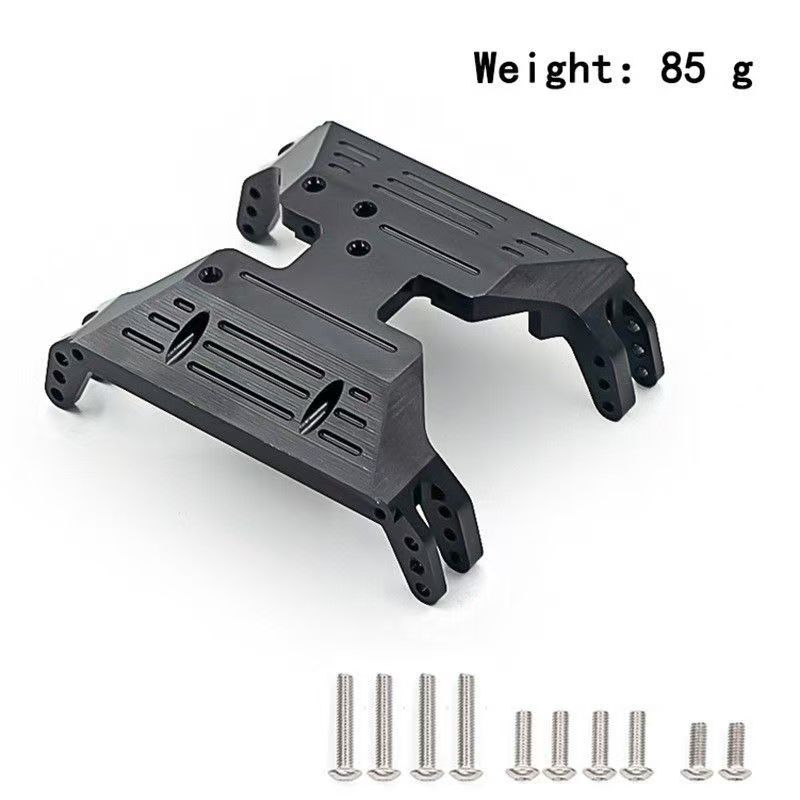
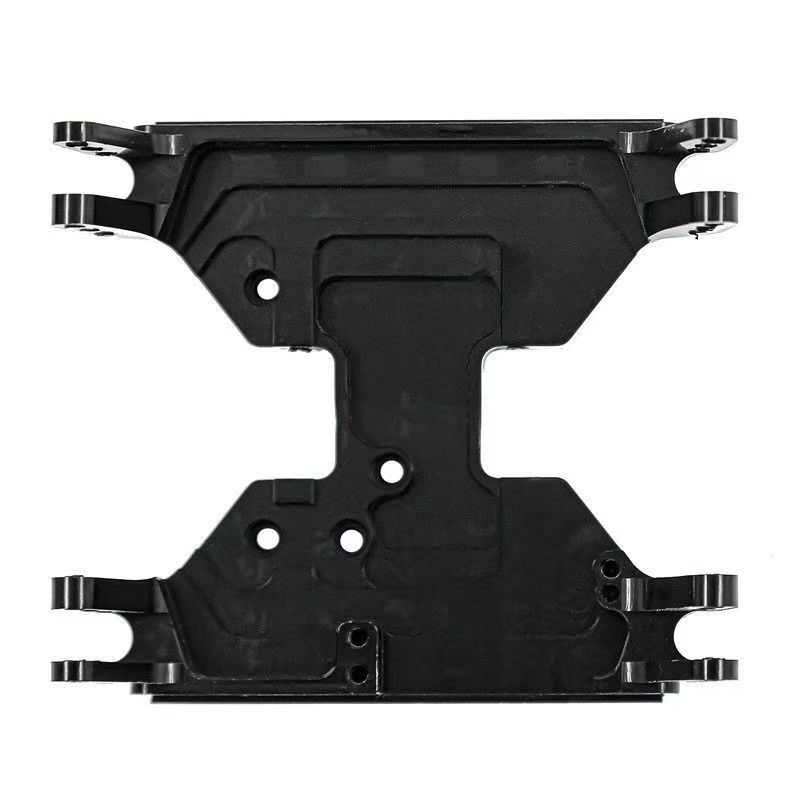
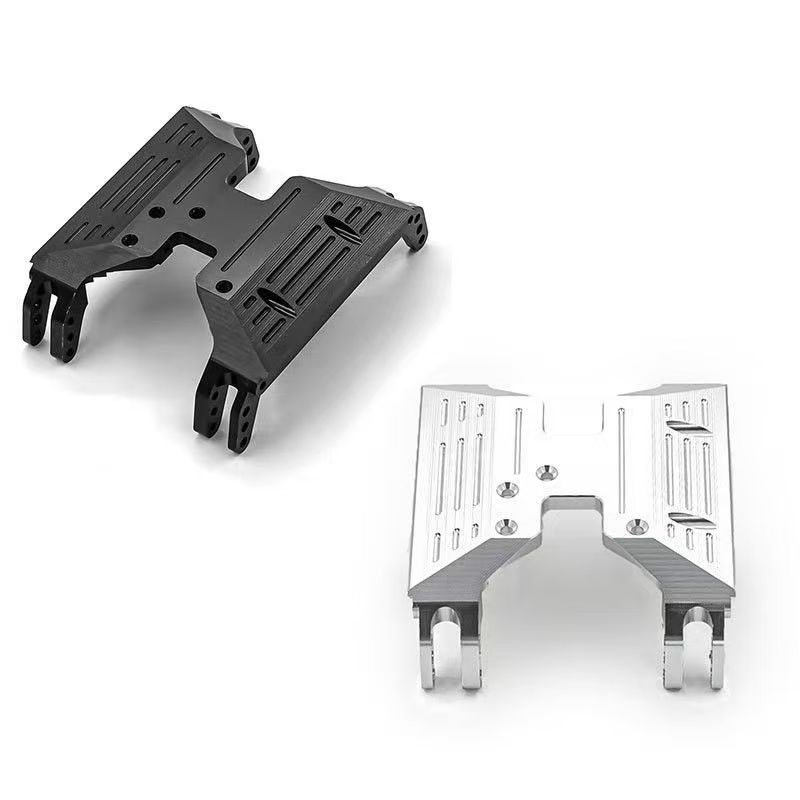
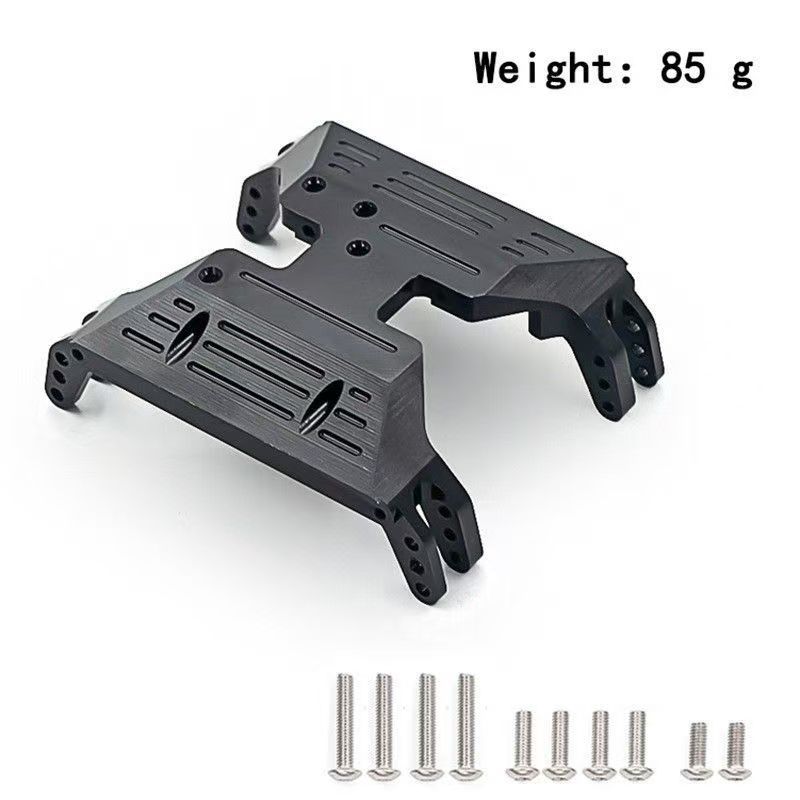
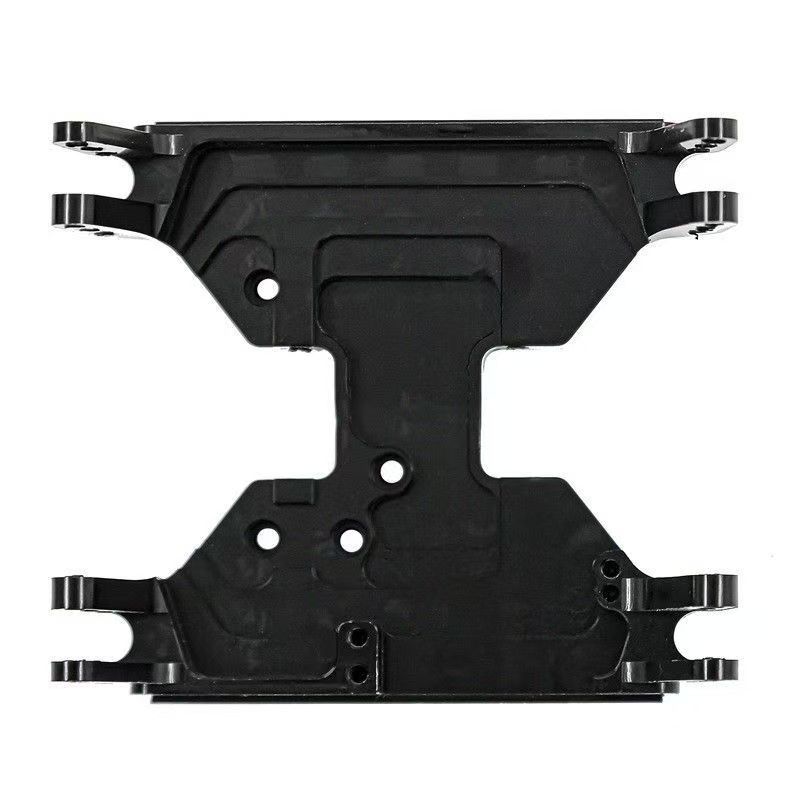
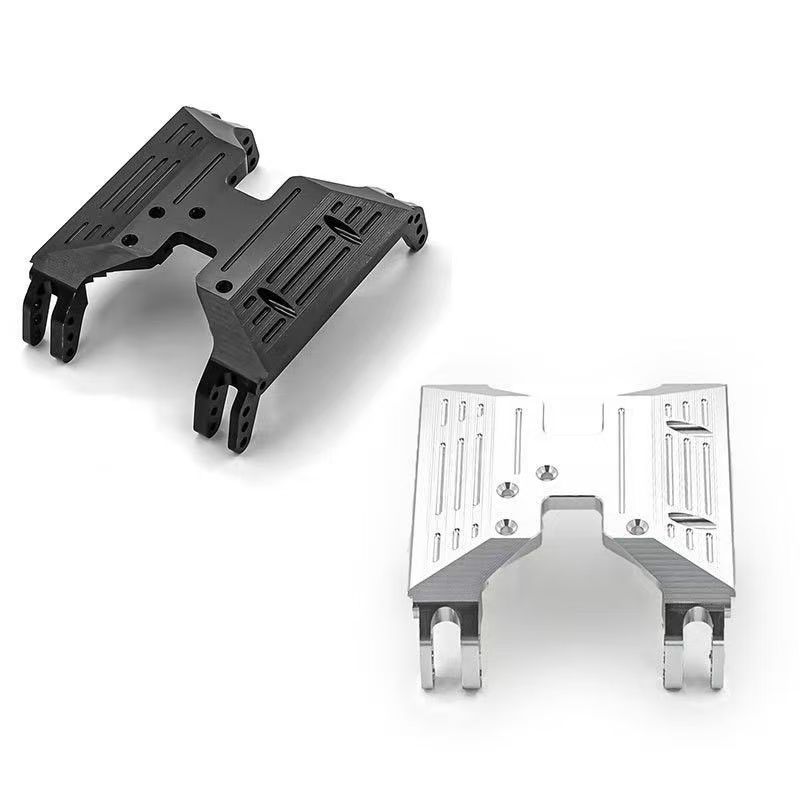
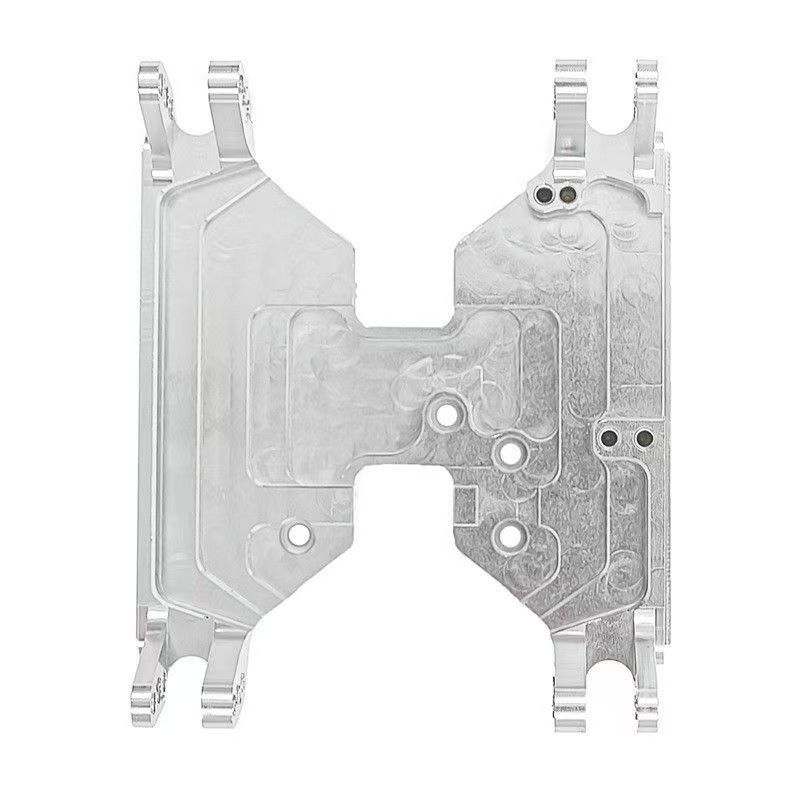
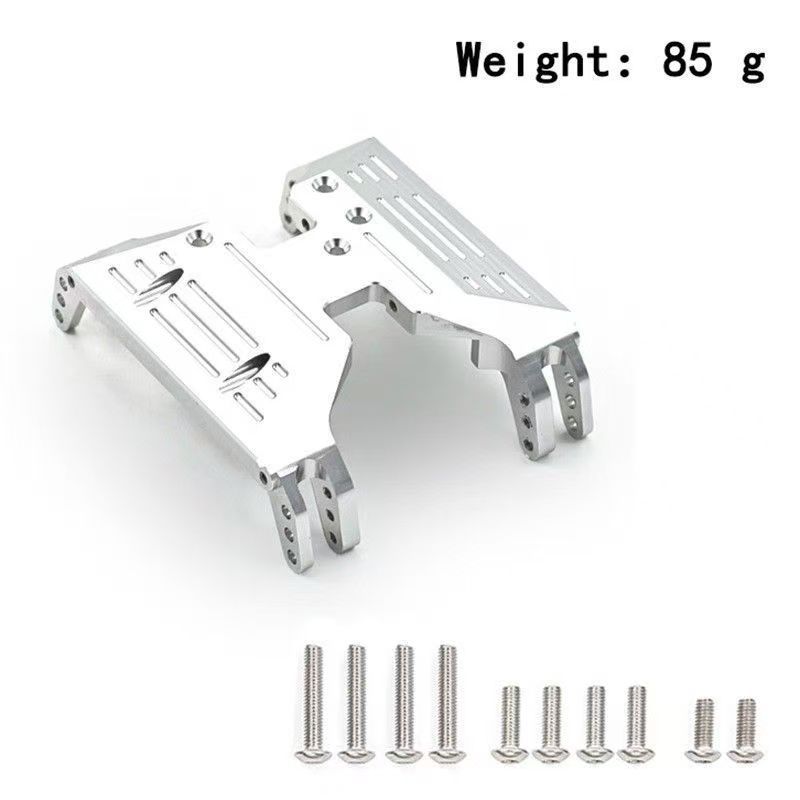
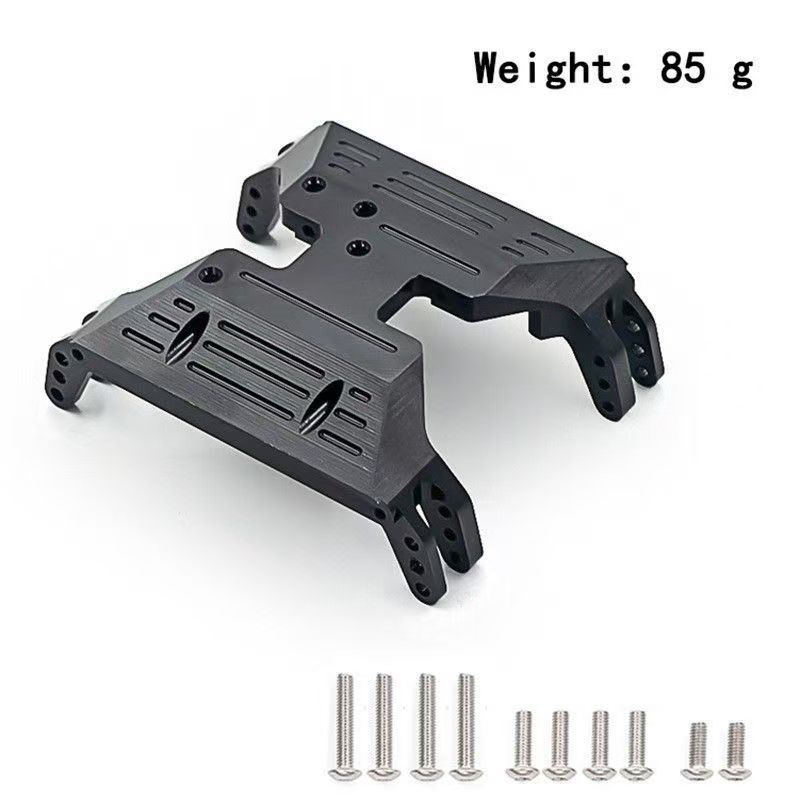
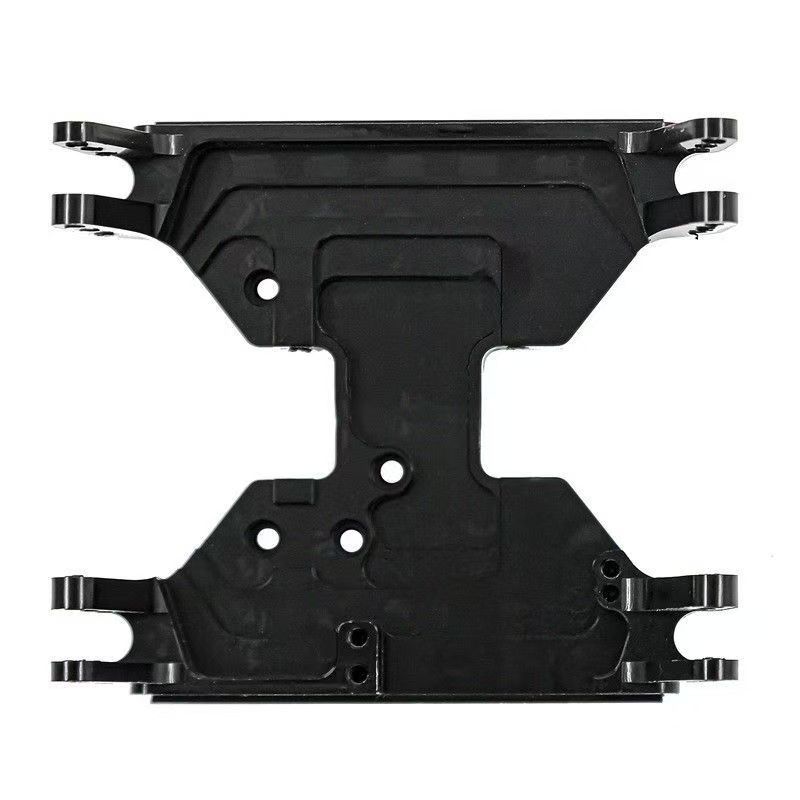
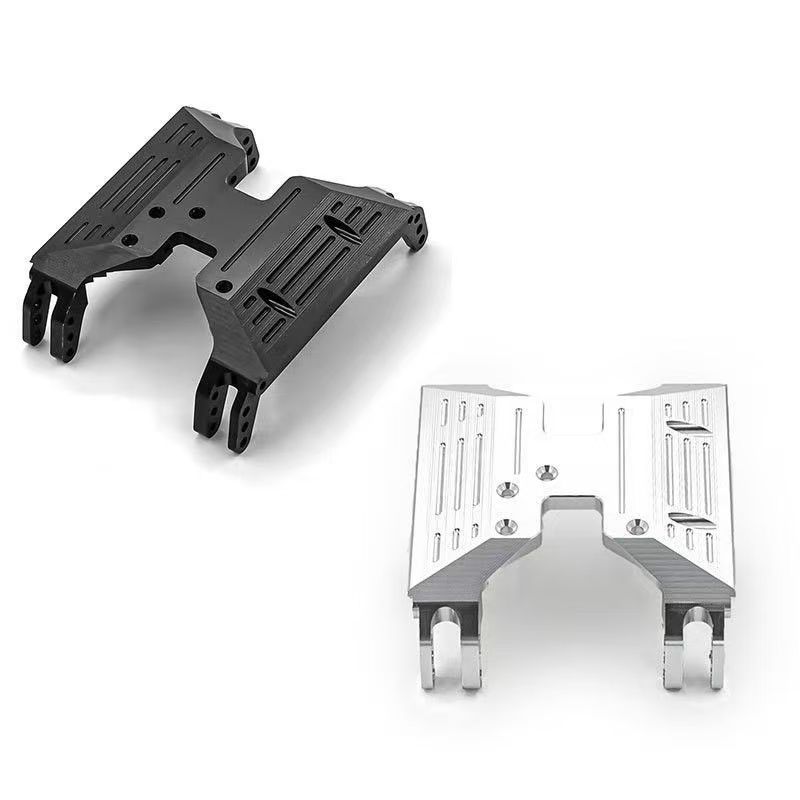
Aluminum Transmission Skid Plate Upgrade for Axial Capra 1.9 UTB AXI03004 1/10 RC Crawler BD06
sku:
€24,95 EUR
€41,95 EUR
Save €17,00 EUR
Free shipping
Quantity
Description
Key Features
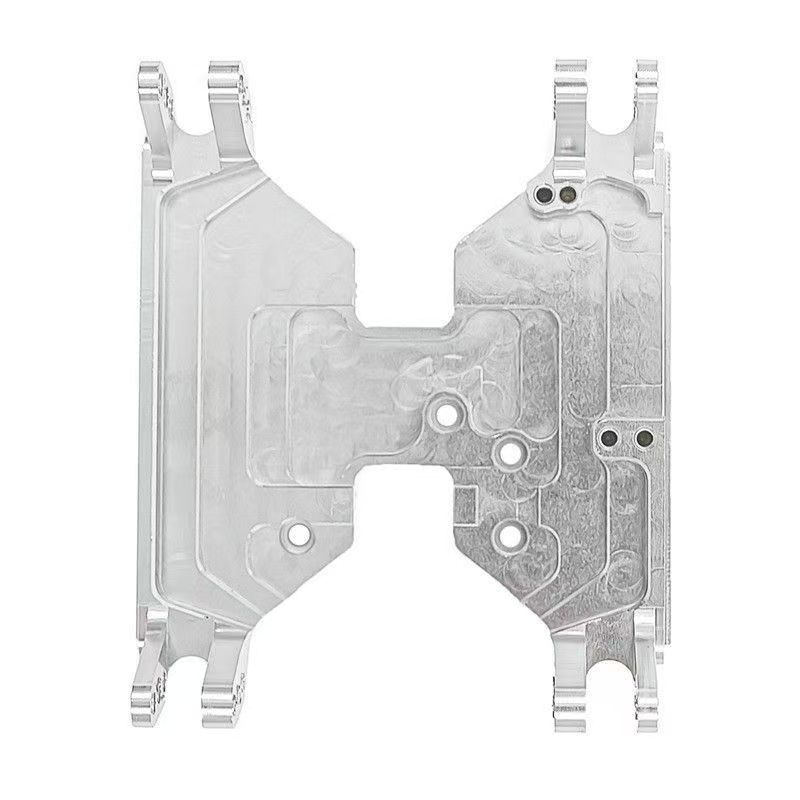
- Perfect fit for Axial Capra 1.9 UTB (AXI03004) stock frame, aligns with original mounting holes
- CNC machined aluminum alloy construction, stronger than stock plastic parts, impact-resistant and durable
- Optimized chassis design lowers center of gravity, improving climbing stability and off-road performance
- Anodized surface for wear and corrosion resistance, available in black or silver
- Direct replacement for the original part, no extra modification required, easy to install
Product Specifications
- Item Specification
- Material Aluminum Alloy
- Compatible Models Axial Capra 1.9 UTB AXI03004 1/10 RC Crawler
- Available Colors Black, Silver
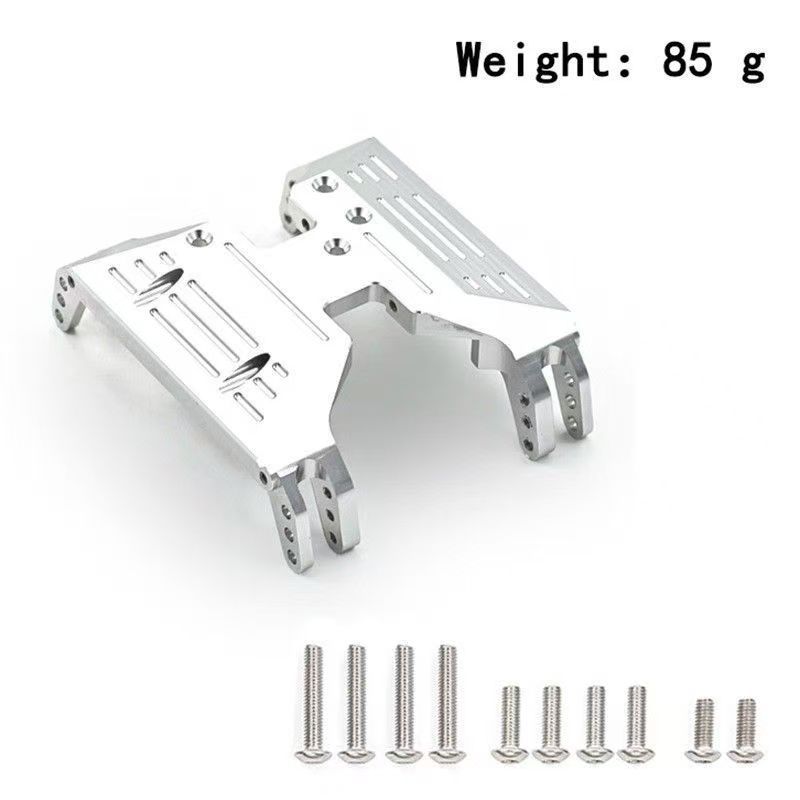
- Net Weight 85g
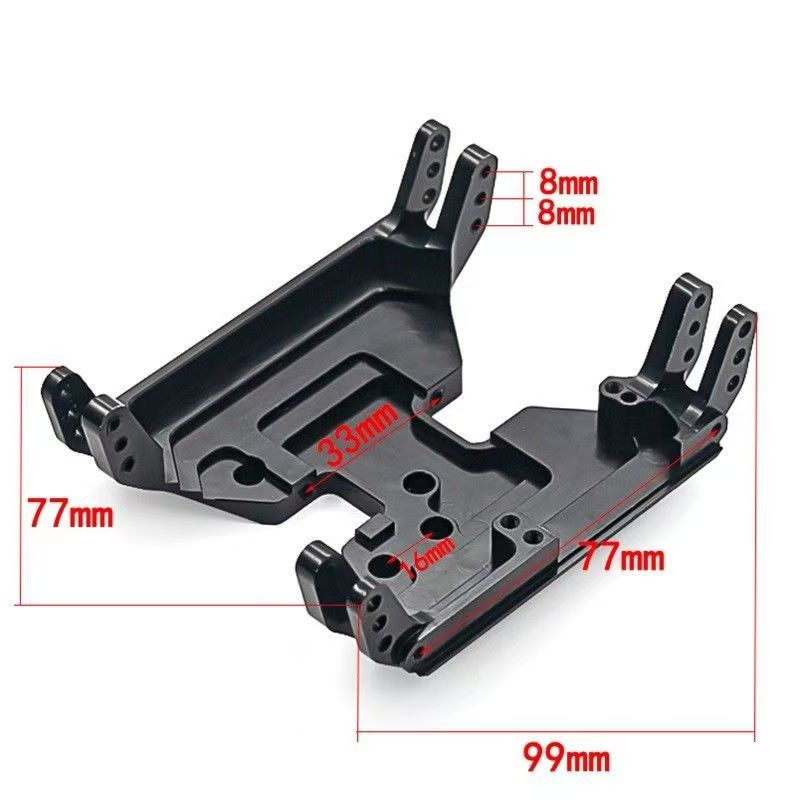
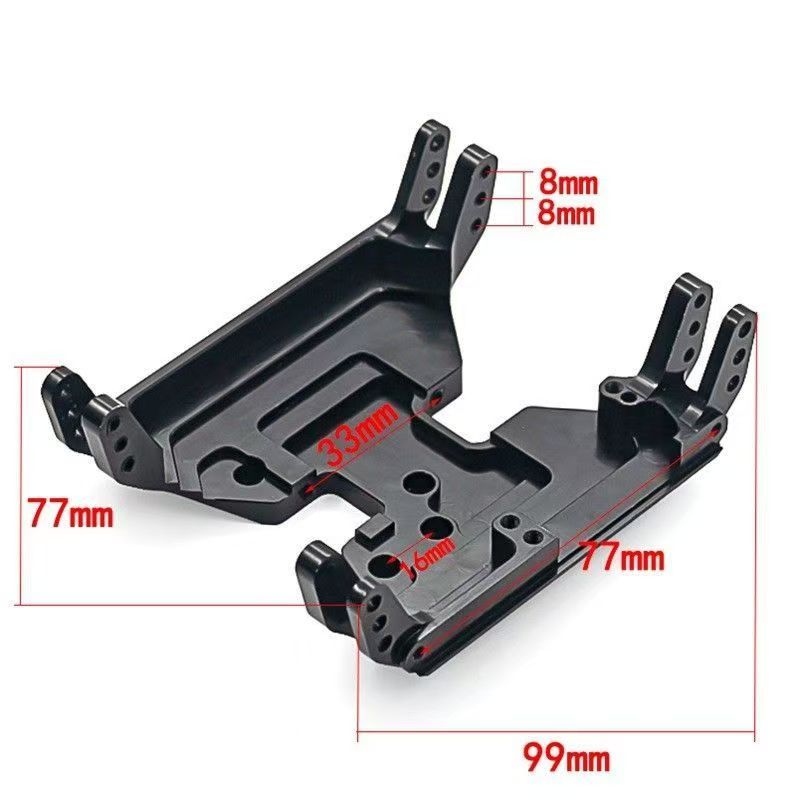
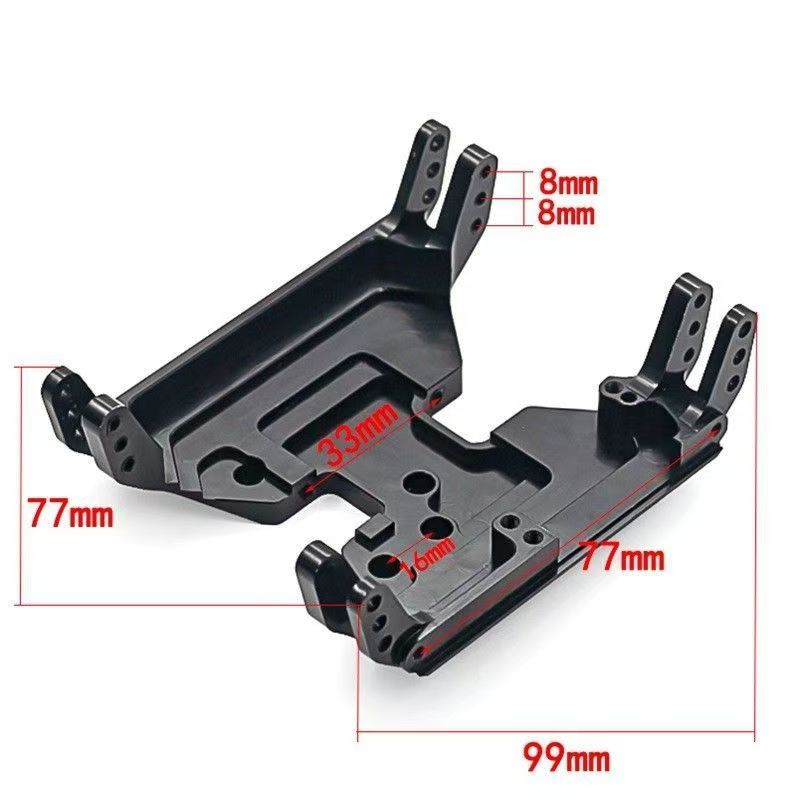
- Dimensions Length 99mm × Width 77mm
- Package Contents 1× Transmission Skid Plate
Product Description
- This aluminum transmission skid plate is a high-performance upgrade part designed specifically for the Axial Capra 1.9 UTB (AXI03004) 1/10 RC crawler. Made of premium aluminum alloy with precision CNC machining, it offers significantly higher impact resistance and rigidity than the original plastic part, effectively withstanding impacts and abrasions during off-road use to extend service life.
- The optimized structure lowers the vehicle's center of gravity, enhancing climbing stability and passability for better performance on complex terrain. The anodized surface provides excellent wear and corrosion resistance, while the two available colors (black and silver) add a personalized touch to your RC car. Designed with stock mounting holes, it can be directly installed without additional drilling or modification, making it a practical upgrade for RC enthusiasts looking to boost both performance and appearance.
Installation Instructions
- Remove the original transmission skid plate and clean the mounting area of dust and debris.
- Align this product with the original mounting holes and place it against the chassis, ensuring proper fit.
- Tighten the screws evenly in a diagonal sequence to avoid uneven stress on one side.
- After installation, check that the gearbox and chassis are securely fixed before use.
- Notes
- Please confirm model compatibility before ordering to avoid installation issues due to incorrect fit.
- Do not over-tighten the screws during installation to prevent thread stripping.
- This is a precision machined part. Do not cut or modify the structure yourself, as this will void the return/exchange policy.
- It is recommended to check the screw tightness regularly after prolonged high-intensity use.
Countries Available for Delivery
Austria Belgium Bulgaria Canada Croatia Czech Republic Denmark Estonia Finland France Germany Hungary Ireland Italy Latvia Lithuania Luxembourg Netherlands Poland Portugal Romania Slovak Republic Slovenia Spain Sweden United Kingdom United States
We only accept orders from the countries specified above. For any incorrect orders placed from non-eligible regions, the full payment will be returned to your original payment channel within one business day.
Austria Belgium Bulgaria Canada Croatia Czech Republic Denmark Estonia Finland France Germany Hungary Ireland Italy Latvia Lithuania Luxembourg Netherlands Poland Portugal Romania Slovak Republic Slovenia Spain Sweden United Kingdom United States
We only accept orders from the countries specified above. For any incorrect orders placed from non-eligible regions, the full payment will be returned to your original payment channel within one business day.
- All products include free shipping and taxes,no hidden fees.
- Secure payment via PayPal, with 100% fund safety guaranteed.
- Every order comes with logistics tracking information.
- We use encrypted SSL certificates to ensure 100% secure payments.
- All gel blasters sold by MYZOOI comply with the EU EN 71-1 toy safety standard. All relevant products have completed customs filing, ensuring zero risks in customs clearance and the smooth delivery of goods.
30-Day Return/Exchange Policy
Return & Exchange Procedure
Full-Coverage Return/Exchange Policy
No Return/Exchange Cases
Return/Exchange Precautions
Estimated Shipping Widget will be displayed here!
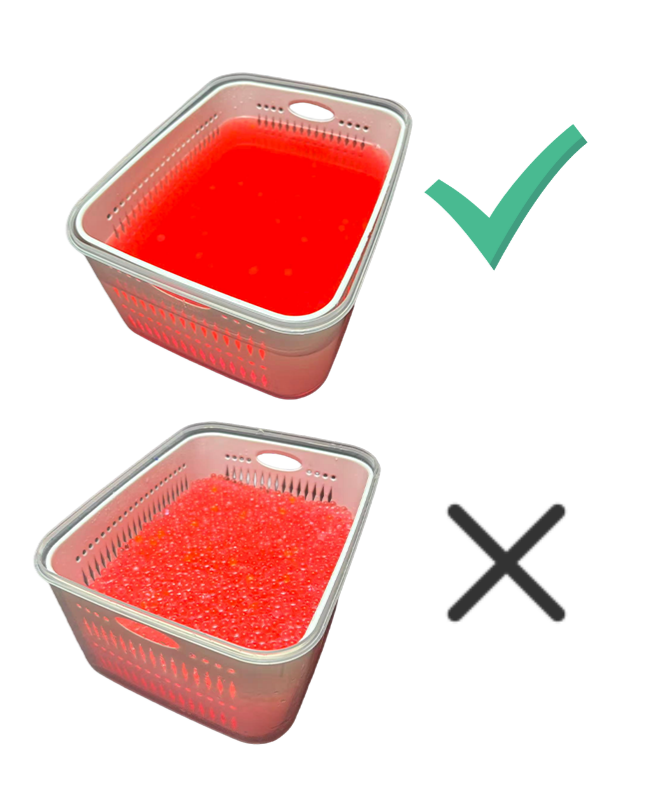
How to Properly Soak Water Gel Beads
- Prepare a container and add plenty of clean water to fully submerge the water gel beads.
- Soak them for 4–6 hours until the beads expand, soften and become fully plump.
- Keep the beads completely under water during the whole process; otherwise, they will not be fully soaked and may easily cause jamming.
- If the soaking time is insufficient or there is not enough water, some water gel beads will not absorb enough water, which may cause poor firing or jamming.
FAQ
Please check the frequently asked questions here. If you still need assistance, please contact us at: service@myzooi.com.